
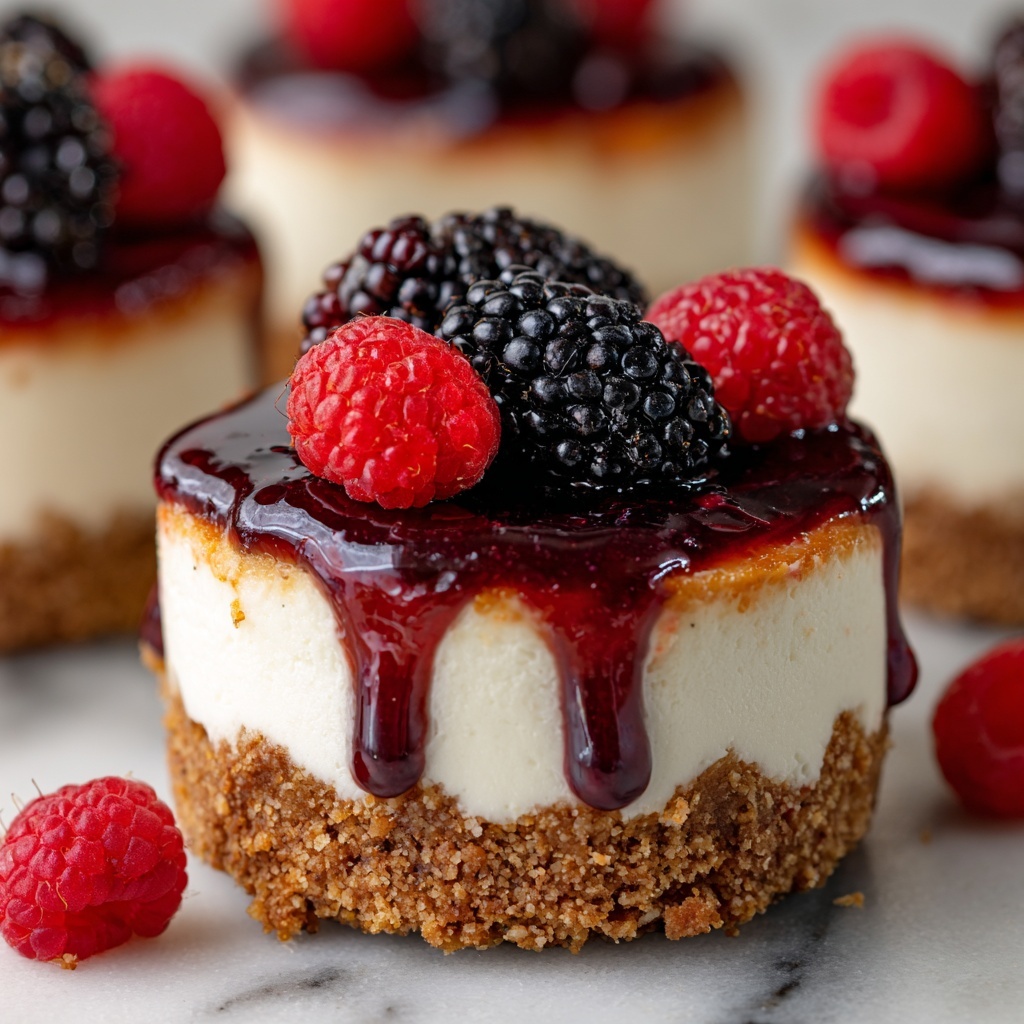
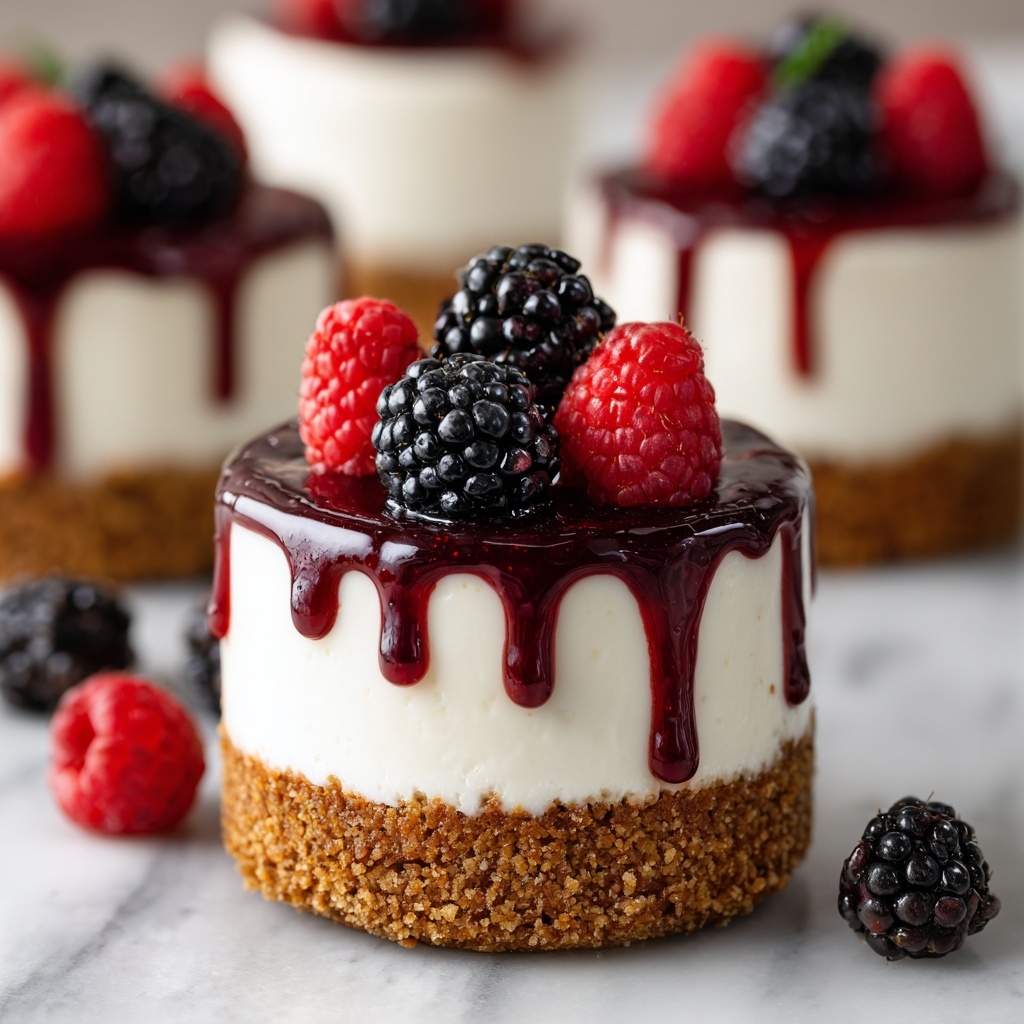
If you’re looking for a delightful, fuss-free dessert that’s as charming as it is delicious, this No-Bake Mini Cheesecakes Recipe is a must-try. These little treats are packed with creamy, dreamy cheesecake flavor nestled on a buttery, crumbly graham cracker crust. Perfectly portioned for sharing (or not!), they set quickly in the fridge, making them ideal for last-minute guests or anytime you want to impress without turning on the oven. The balance of sweet and tangy, light yet luscious filling topped with fresh fruit or your favorite topping makes these mini cheesecakes an absolute crowd-pleaser every time.
Ingredients You’ll Need
Don’t be fooled by the simplicity here; each ingredient plays a crucial role in delivering the perfect No-Bake Mini Cheesecakes Recipe experience. From the buttery crust that gives that satisfying crunch to the silky filling that melts in your mouth, every component is carefully chosen for taste, texture, and effortless preparation.
- Graham cracker crumbs (1 1/2 cups): The foundation of your crust, bringing a sweet, toasty crunch.
- Granulated sugar (3 tablespoons): Adds just the right touch of sweetness to the crust.
- Unsalted butter, melted (6 tablespoons): Holds the crust together with rich, creamy flavor.
- Cream cheese, softened (16 ounces): The star ingredient that provides that classic cheesecake creaminess.
- Powdered sugar (1/2 cup): For smooth, perfect sweetness within the filling.
- Heavy whipping cream, cold (1 cup): Whipped into fluffy peaks to lighten the filling to heavenly texture.
- Vanilla extract (1 teaspoon): Enhances the flavor with warm, aromatic notes.
- Lemon juice (1 tablespoon, optional): Adds a bright, subtle tang that balances the richness beautifully.
- Pinch of fine salt: Accentuates all the flavors, making them pop.
- Strawberry or blueberry topping or fresh fruit (1 cup, optional): For that fresh burst of color and fruity sweetness to top your minis.
How to Make No-Bake Mini Cheesecakes Recipe
Step 1: Prepare the Crust
Start by lining a 12-cup muffin pan with paper liners—this will make removal a breeze and keep those mini cheesecakes perfectly shaped. Stir together the graham cracker crumbs, granulated sugar, and melted butter until the mix looks just like wet sand. This texture means the crust will hold together well without being too dense. Press about 1 1/2 tablespoons firmly into each liner using the bottom of a small glass or spoon to create an even, compact base. Pop the pan into the fridge to chill while you whip up the luscious filling.
Step 2: Make the Cheesecake Filling
In a large bowl, beat the softened cream cheese with powdered sugar, vanilla extract, lemon juice if using, and a pinch of salt until the mixture is incredibly smooth and creamy without lumps. The lemon juice is optional but highly recommended—it gives an irresistible hint of brightness that takes your cheesecake flavor to the next level.
Step 3: Whip the Cream and Fold
In a separate chilled bowl, whip the heavy cream until stiff peaks form. This step is key because the fluffy whipped cream lightens the dense cream cheese, giving the filling a delightful airy texture. Gently fold the whipped cream into the cream cheese mixture with care, so you keep all that volume and cloud-like softness.
Step 4: Assemble and Chill
Distribute the creamy filling evenly over the chilled crusts, smoothing the tops for a polished look. Refrigerate the mini cheesecakes for at least 4 hours to allow them to set beautifully. For an even cleaner, firmer result, chilling them overnight is perfect. This waiting game is worth every minute for the melt-in-your-mouth texture you’ll enjoy.
Step 5: Add Toppings and Serve
Just before serving, top each mini cheesecake with your choice of vibrant strawberry or blueberry topping, fresh fruit, or even a drizzle of chocolate. These finishing touches not only boost flavor but make the presentation irresistible.
How to Serve No-Bake Mini Cheesecakes Recipe
Garnishes
Elevate your mini cheesecakes with fresh berries, a sprinkle of crushed nuts, a few mint leaves, or a light dusting of powdered sugar. These small details add stunning visual contrast and complementary flavors that make every bite feel special.
Side Dishes
Serve these mini cheesecakes alongside a cup of rich coffee, a glass of sparkling wine, or a fresh fruit salad for a balanced dessert experience. Their size and richness make them a delightful finale without overwhelming the palate.
Creative Ways to Present
Try serving your No-Bake Mini Cheesecakes Recipe on a decorative tray with assorted toppings so guests can customize their own. Alternatively, place each cheesecake in a small glass dome or on individual dessert plates garnished with edible flowers for a touch of elegance that will wow your friends.
Make Ahead and Storage
Storing Leftovers
After enjoying your mini delights, simply cover the remaining cheesecakes tightly and store them in the refrigerator. They will keep well for up to 5 days, maintaining their creamy texture and fresh flavor.
Freezing
If you want to prepare these ahead of a big event or save leftovers, freezing is a fantastic option. Wrap each mini cheesecake individually in plastic wrap and place in an airtight container or freezer bag. They’ll stay fresh for up to one month. Thaw overnight in the fridge before serving.
Reheating
Since this is a no-bake dessert best served chilled, reheating is not recommended. Instead, give them time to come to a pleasant cool temperature straight from the fridge or freezer for the best texture and taste experience.
FAQs
Can I use a different crust instead of graham crackers?
Absolutely! You can swap out the graham cracker crumbs for crushed chocolate cookies, vanilla wafers, or even ginger snaps depending on the flavor profile you want. Just make sure to adjust the sweetness accordingly.
Is the lemon juice necessary in the filling?
While it’s optional, lemon juice adds a lovely brightness that cuts through the richness of the cream cheese and makes the filling taste fresher and more balanced. If you prefer no citrus, you can leave it out.
Can I make this recipe vegan or dairy-free?
To make a vegan or dairy-free version, try using plant-based cream cheese and coconut cream whipped into peaks. It won’t taste exactly the same, but it can be a delicious alternative for those with dietary restrictions.
How long do the mini cheesecakes take to set?
The filling needs at least 4 hours in the fridge to set properly. Overnight chilling will give the best texture and is highly recommended if you have time.
How do I prevent the crust from getting soggy?
Pressing the crust mixture firmly and chilling it before adding the filling helps create a sturdy barrier. Also, avoid topping the cheesecakes with very watery fruits unless you add them just before serving.
Final Thoughts
This No-Bake Mini Cheesecakes Recipe is truly one of those magical recipes that feels special yet comes together so easily. Whether it’s a weeknight treat, a party dessert, or a way to impress guests without breaking a sweat, these cheesecakes deliver big flavor and comfort in a petite package. Give them a whirl—you’ll wonder how you ever lived without these creamy, dreamy bites in your dessert rotation!
Print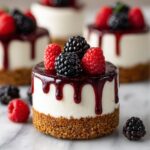
No-Bake Mini Cheesecakes Recipe
- Prep Time: 20 minutes
- Cook Time: 0 minutes
- Total Time: 4 hours 20 minutes
- Yield: 12 mini cheesecakes
- Category: Dessert
- Method: No-Cook
- Cuisine: American
- Diet: Vegetarian
Description
These No-Bake Mini Cheesecakes are a delightful and easy-to-make dessert featuring a buttery graham cracker crust and a creamy, fluffy cheesecake filling. Perfect for any occasion, they require no oven time and can be prepared ahead for convenience. Top with your favorite fruit or pie filling for an extra burst of flavor.
Ingredients
Crust
- 1 1/2 cups graham cracker crumbs
- 3 tablespoons granulated sugar
- 6 tablespoons unsalted butter, melted
Filling
- 16 ounces cream cheese, softened
- 1/2 cup powdered sugar
- 1 cup heavy whipping cream, cold
- 1 teaspoon vanilla extract
- 1 tablespoon lemon juice (optional)
- Pinch of fine salt
Topping (Optional)
- 1 cup strawberry or blueberry topping or fresh fruit
Instructions
- Prepare the crust: Line a 12-cup muffin pan with paper liners. In a bowl, combine graham cracker crumbs, granulated sugar, and melted butter until the mixture resembles wet sand. Spoon about 1 1/2 tablespoons into each liner and press firmly into an even layer using the bottom of a small glass or spoon. Place the crusts in the refrigerator to chill.
- Make the cheesecake filling: In a large bowl, beat the softened cream cheese, powdered sugar, vanilla extract, lemon juice if using, and pinch of salt until the mixture is smooth and creamy. In a separate bowl, whip the cold heavy cream to stiff peaks.
- Combine filling components: Gently fold the whipped cream into the cream cheese mixture until fully incorporated and fluffy.
- Assemble the cheesecakes: Evenly divide the cheesecake filling among the prepared muffin cups, smoothing the tops with a spoon or spatula.
- Chill to set: Refrigerate the mini cheesecakes for at least 4 hours or until fully set. For best results and cleaner cuts, chill overnight.
- Add toppings before serving: Just before serving, top each mini cheesecake with your choice of strawberry or blueberry topping, fresh fruit, or a drizzle of chocolate.
Notes
- For clean, tall mini cheesecakes, chill overnight.
- For extra stability in warm weather, mix in 1 teaspoon of unflavored gelatin bloomed in 1 tablespoon water and melted (cooled slightly) before folding in the whipped cream.
- Substitute graham crackers with chocolate cookies or vanilla wafers for variation.
- Store leftovers covered in the refrigerator up to 5 days or freeze for up to 1 month.

