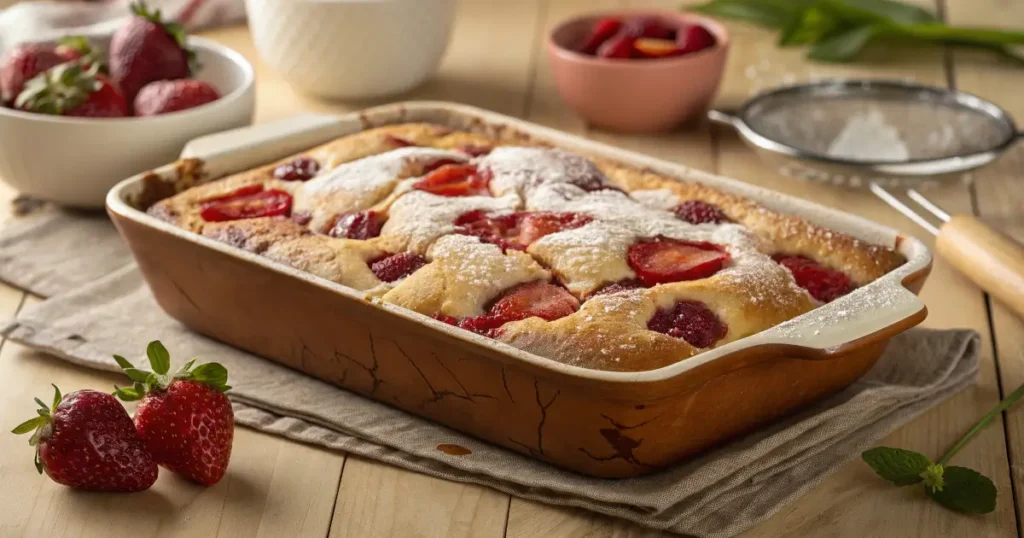
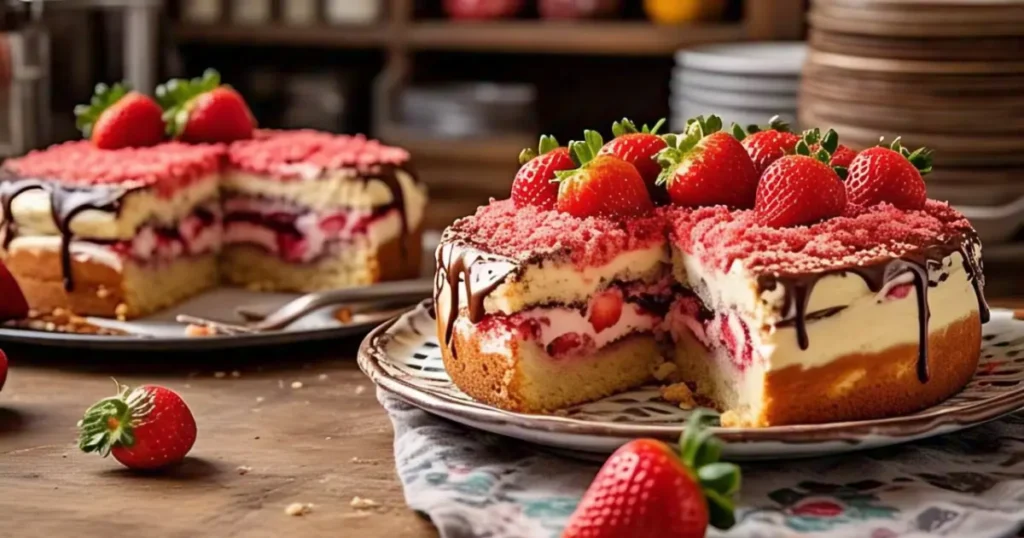
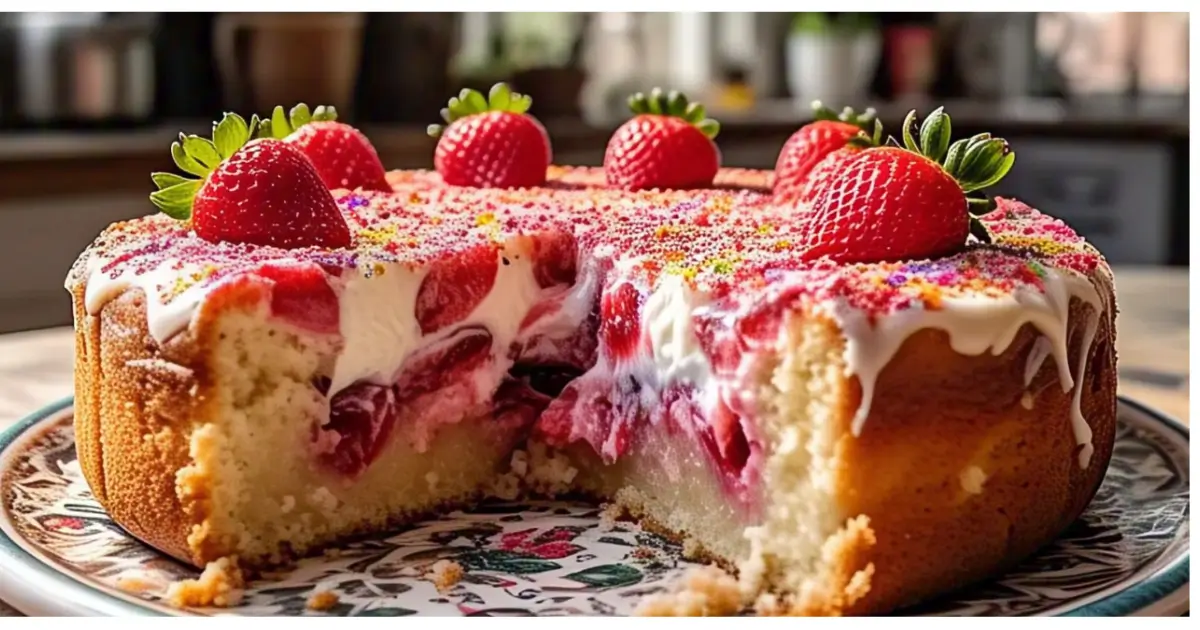
Have you ever stumbled upon a dessert so irresistibly delicious that it feels like a happy accident? That’s exactly what you’ll get with this Strawberry Earthquake Cake a moist, gooey masterpiece that’s as fun to make as it is to eat! Imagine layers of fluffy cake, swirled with creamy cheesecake filling and bursts of fresh strawberry flavor. Sounds dreamy, right?
Whether you’re a seasoned baker or just starting out, this easy Strawberry Earthquake Cake recipe is perfect for you. It’s the kind of dessert that wows at potlucks, steals the show at holidays, and turns ordinary days into something special. Plus, with simple ingredients like cake mix, cream cheese, and fresh strawberries, it’s a no-fuss treat that delivers big on flavor.

So, are you ready to bake a cake that’s as unforgettable as its name? Let’s dive in and create a dessert that’s sure to become a family favorite!
Ingredients for Strawberry Earthquake Cake
Before we dive into the baking fun, let’s gather everything you’ll need to make this Strawberry Earthquake Cake. Trust me, the magic lies in the simplicity of these ingredients! Whether you’re a baking pro or a first-timer, this recipe is designed to be stress-free and totally delicious.
Here’s what you’ll need:
Main Ingredients
- 1 box of vanilla or white cake mix (plus the ingredients listed on the box usually eggs, oil, and water)
- 8 oz cream cheese, softened (this creates that dreamy, gooey swirl!)
- 1/2 cup unsalted butter, softened
- 2 cups fresh strawberries, diced (for that juicy, fruity burst of flavor)
- 1/2 cup strawberry jam or preserves (to amp up the strawberry goodness)
- 1 tsp vanilla extract (for a hint of warmth and sweetness)
- 1 cup powdered sugar (to sweeten the cream cheese layer)
Optional Add-Ins
- 1/2 cup shredded coconut (for a tropical twist)
- 1/2 cup chopped nuts (like pecans or walnuts for a crunchy texture)
- 1/2 cup white or semi-sweet chocolate chips (because chocolate makes everything better!)
Tools You’ll Need
- 9×13 inch baking pan (the perfect size for this cake)
- Mixing bowls (one for the cake batter, one for the cream cheese filling)
- Electric mixer or whisk (to blend the cream cheese filling smoothly)
- Spatula (for spreading the batter and filling)
- Oven preheated to 350°F (the ideal temperature for baking this beauty)
Tips for Ingredient Success
- Use Fresh Strawberries: They add a bright, natural flavor that’s hard to beat. If fresh strawberries aren’t available, frozen ones can work just thaw and drain them well to avoid excess moisture.
- Softened Cream Cheese and Butter: This ensures a smooth, lump-free filling. If you forget to soften them, pop them in the microwave for 10-15 seconds.
- Customize Your Cake: Feel free to swap out the vanilla cake mix for a strawberry or chocolate one if you’re feeling adventurous!
With these ingredients and tools ready, you’re all set to create a Strawberry Earthquake Cake that’s as delightful to make as it is to devour. Let’s move on to the next step mixing and baking this show-stopping dessert!
Step-by-Step Instructions for Strawberry Earthquake Cake
Now that you’ve got all your ingredients ready, it’s time to bring this Strawberry Earthquake Cake to life! Don’t worry, this recipe is as easy as it is delicious. Follow these simple steps, and you’ll have a dessert that’s sure to impress. Let’s get baking!
1: Prepare the Cake Batter
- Preheat your oven to 350°F (175°C) and grease a 9×13 inch baking pan. This ensures your cake won’t stick and will slide out perfectly.
- Prepare the cake mix according to the package instructions (usually involving eggs, oil, and water). Mix until smooth and lump-free.
- Pour the batter into the greased pan, spreading it evenly with a spatula. This will be the base of your Strawberry Earthquake Cake.
2: Make the Cream Cheese Filling
- In a mixing bowl, combine the softened cream cheese and butter. Use an electric mixer or whisk to blend until creamy and smooth.
- Add the powdered sugar and vanilla extract, mixing until fully incorporated. This creates that irresistible, sweet, and tangy swirl.
- Fold in the diced strawberries gently, ensuring they’re evenly distributed throughout the filling.
3: Layer and Swirl
- Drop spoonfuls of the cream cheese mixture over the cake batter in the pan. Don’t worry about spreading it evenly—this is where the “earthquake” magic happens!
- Add dollops of strawberry jam across the top for an extra burst of flavor.
- Use a knife or skewer to gently swirl the cream cheese and jam into the cake batter. Don’t overmix, just a few swirls will create that beautiful marbled effect.
4: Bake to Perfection
- Place the pan in the preheated oven and bake for 40-50 minutes. The cake is done when the edges are golden brown and the center is set but still slightly jiggly.
- Check for doneness by inserting a toothpick into the cake. It should come out with a few moist crumbs but not wet batter.
5: Cool and Serve
- Let the cake cool in the pan for at least 20-30 minutes. This allows the filling to set and makes slicing easier.
- Dust with powdered sugar or top with whipped cream and fresh strawberries for a finishing touch.
- Slice and serve! This cake is perfect warm or at room temperature, and it pairs wonderfully with a scoop of vanilla ice cream.
Pro Tips for Baking Success
- Don’t Overmix the Swirl: A few gentle swirls are all you need to create that signature “earthquake” look without blending the layers completely.
- Adjust Baking Time: Ovens vary, so keep an eye on your cake after the 40-minute mark to avoid overbaking.
- Make It Ahead: This cake tastes even better the next day as the flavors meld together. Store it covered in the fridge and bring it to room temperature before serving.
And there you have it, a Strawberry Earthquake Cake that’s as fun to make as it is to eat! Up next, I’ll share some tips and tricks to ensure your cake turns out perfectly every time. Let’s keep the baking adventure going!
Tips for Making the Perfect Strawberry Earthquake Cake

So, you’ve baked your Strawberry Earthquake Cake, and it’s looking (and smelling) amazing! But before you slice into that gooey, strawberry-filled masterpiece, let’s talk about some tips and tricks to ensure your cake turns out perfectly every time. Whether you’re a baking newbie or a seasoned pro, these actionable insights will take your dessert game to the next level.
1. Use Fresh, Ripe Strawberries
- Why it matters: Fresh strawberries add a bright, natural sweetness and juicy texture that’s hard to beat.
- Pro tip: If fresh strawberries aren’t in season, you can use frozen ones, just thaw and drain them well to avoid excess moisture in your cake.
2. Don’t Overmix the Swirl
- Why it matters: Overmixing can blend the layers too much, losing that beautiful marbled “earthquake” effect.
- Pro tip: Use a knife or skewer to gently swirl the cream cheese filling and strawberry jam into the batter. A few figure-eight motions are all you need!
3. Soften Your Cream Cheese and Butter
- Why it matters: Softened cream cheese and butter blend more smoothly, creating a creamy, lump-free filling.
- Pro tip: If you forget to soften them, pop them in the microwave for 10-15 seconds. Just be careful not to melt them completely!
4. Customize Your Cake
- Why it matters: Baking is all about creativity, and this recipe is super versatile.
- Pro tip: Try these fun variations:
- Swap vanilla cake mix for strawberry or chocolate.
- Add shredded coconut or chopped nuts for extra texture.
- Drizzle melted chocolate or caramel over the finished cake for a decadent touch.
5. Check for Doneness
- Why it matters: Overbaking can dry out your cake, while underbaking can leave it too gooey.
- Pro tip: The cake is done when the edges are golden brown, and the center is set but still slightly jiggly. Use a toothpick to test, it should come out with a few moist crumbs but not wet batter.
6. Let It Cool Before Serving
- Why it matters: Cooling allows the filling to set, making the cake easier to slice and serve.
- Pro tip: For the best texture, let the cake cool in the pan for at least 20-30 minutes. If you can resist, it’s even better the next day as the flavors meld together!
7. Store and Reheat Like a Pro
- Why it matters: Proper storage keeps your cake fresh and delicious for days.
- Pro tip:
- Store leftovers covered in the fridge for up to 5 days.
- Bring the cake to room temperature before serving, or warm individual slices in the microwave for 10-15 seconds.
- To freeze, wrap slices tightly in plastic wrap and store in an airtight container for up to 2 months.
With these tips in your baking toolkit, you’re all set to create a Strawberry Earthquake Cake that’s not only delicious but also picture-perfect. Ready to tackle some common questions about this recipe? Let’s move on to the FAQs!
With these tips, you’re all set to create a Strawberry Earthquake Cake that’s not only delicious but also picture-perfect. Ready to tackle some common questions about this recipe? Let’s move on to the FAQs!
Frequently Asked Questions (FAQs) About Strawberry Earthquake Cake
Even the most confident bakers have questions, and that’s totally okay! To make your Strawberry Earthquake Cake journey as smooth as possible, I’ve answered some of the most common questions below. Whether you’re wondering about substitutions, storage, or troubleshooting, I’ve got you covered. Let’s dive in!
1. Can I Use Frozen Strawberries Instead of Fresh?
- Answer: Absolutely! Frozen strawberries work well in this recipe. Just make sure to thaw and drain them thoroughly to remove excess moisture, which can affect the cake’s texture.
- Pro tip: If using frozen strawberries, chop them while still slightly frozen for easier handling.
2. Can I Make This Cake Gluten-Free?
- Answer: Yes, you can! Simply swap the regular cake mix for a gluten-free version. Most gluten-free cake mixes work just as well, so you won’t miss out on flavor or texture.
- Pro tip: Check that all other ingredients (like cream cheese and jam) are gluten-free to keep the entire recipe safe for gluten-sensitive folks.
3. How Do I Know When the Cake is Done Baking?
- Answer: The cake is done when the edges are golden brown, and the center is set but still slightly jiggly. Insert a toothpick into the center, if it comes out with a few moist crumbs (not wet batter), it’s ready!
- Pro tip: Ovens vary, so start checking for doneness at the 40-minute mark to avoid overbaking.
4. Can I Make This Cake Ahead of Time?
- Answer: Definitely! This cake actually tastes even better the next day as the flavors meld together. Bake it a day in advance, let it cool completely, and store it covered in the fridge.
- Pro tip: Bring the cake to room temperature before serving, or warm individual slices in the microwave for 10-15 seconds.
5. How Should I Store Leftovers?
- Answer: Store leftover Strawberry Earthquake Cake covered in the fridge for up to 5 days. For longer storage, you can freeze it.
- Pro tip: To freeze, wrap individual slices tightly in plastic wrap and place them in an airtight container. Freeze for up to 2 months and thaw in the fridge before serving.
6. Can I Use a Different Fruit or Jam
- Answer: Of course! While strawberries are the star here, you can experiment with other fruits like raspberries, blueberries, or even peaches. Swap the strawberry jam for your favorite fruit preserves to match.
- Pro tip: If using a different fruit, adjust the sweetness level if needed, as some fruits are more tart than strawberries.
7. Why is My Cake Too Gooey or Too Dry?
- Answer: A gooey center usually means the cake needs a bit more baking time, while a dry texture can result from overbaking or too much flour in the cake mix.
- Pro tip: Stick to the recommended baking time and check for doneness with a toothpick. If your oven runs hot, reduce the temperature by 10-15°F to prevent overbaking.
8. Can I Add Toppings to My Cake?
- Answer: Absolutely! Toppings can take your Strawberry Earthquake Cake to the next level. Try whipped cream, fresh strawberries, a dusting of powdered sugar, or even a drizzle of chocolate or caramel sauce.
- Pro tip: Add toppings just before serving to keep the cake looking fresh and vibrant.
With these FAQs, you’re equipped to tackle any challenge that comes your way while making this delicious dessert. Now that all your questions are answered, it’s time to wrap things up with a few final thoughts.
Conclusion and Final Thoughts on Strawberry Earthquake Cake
Congratulations! you’ve made it to the end of this Strawberry Earthquake Cake adventure! By now, you’ve got all the tools, tips, and tricks to create a dessert that’s as delightful to make as it is to eat. Whether you’re baking for a special occasion, a potluck, or just because, this cake is sure to bring smiles to everyone’s faces.
Why This Recipe is a Keeper
- Easy and Approachable: With simple ingredients and straightforward steps, this recipe is perfect for bakers of all skill levels.
- Versatile and Customizable: From swapping fruits to adding toppings, you can make this cake uniquely yours.
- Crowd-Pleasing Flavor: The combination of moist cake, creamy cheesecake swirl, and juicy strawberries is simply irresistible.
A Final Word of Encouragement
Baking is all about having fun and creating something delicious to share with the people you love. Don’t stress over perfection, your Strawberry Earthquake Cake will be a hit no matter what. Remember, the best recipes are the ones made with joy and a sprinkle of creativity.
- Try It Out: Whip up this cake and let me know how it turns out! Share your creations on social media and tag me, I’d love to see your masterpiece.
- Explore More Recipes: If you loved this recipe, check out my other dessert ideas for more baking inspiration.
- Leave a Comment: Have a question or a tip to share? Drop a comment below, I’m here to help and cheer you on!
Thank you for joining me on this baking journey. Now, go grab that spatula, preheat your oven, and let’s make some magic happen. Happy baking! 🍓✨


1 thought on “How to Make Strawberry Earthquake Cake recipe”