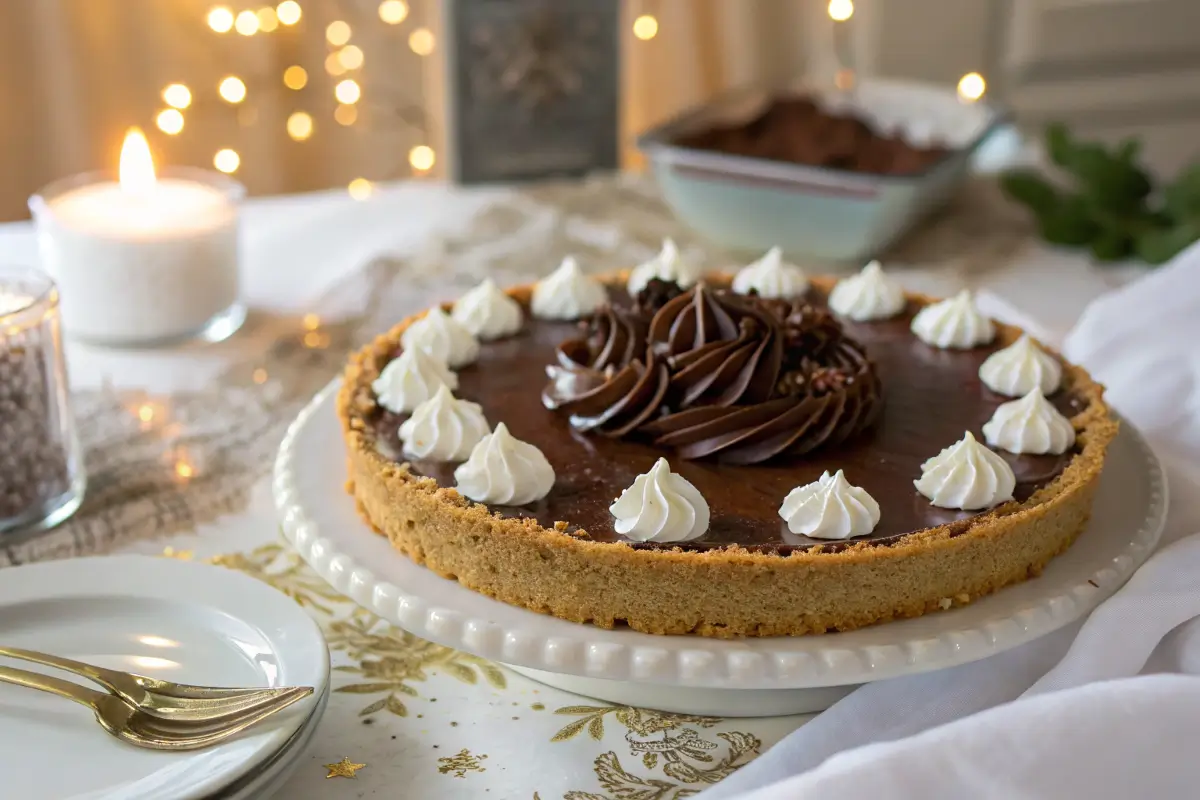
Have you ever craved a rich, silky chocolate pie but balked at the idea of switching on the oven in peak summer heat? If so, you’re in the right kitchen. Today I’m walking you through how to make a delicious no-bake chocolate cream pie, a dessert that’s as effortless as it is indulgent. Imagine a crisp graham-cracker crust hugging a cool chocolate pudding filling, all topped with billowy whipped cream, no baking sheets, no hot stove, just pure chocolate bliss.
Why does this easy no-bake chocolate pie deserve a spot in your recipe box? First, it’s a true quick chocolate pie dessert, mix, chill, enjoy. Second, the oven-free method keeps your kitchen calm and your energy bill low. Third, the recipe welcomes creative twists, from an Oreo crust to a low-sugar makeover, so you can tailor each slice to your taste buds and dietary needs.
In the sections ahead, we’ll explore the key benefits that make this dessert a summer superstar, break down the simple ingredient list, and guide you step-by-step through assembly. I’ll also share flavor spins, serving tips, and storage hacks so your pie stays picture-perfect long after it leaves the fridge.
Want to make a crowd-pleasing dessert that looks bakery-worthy but is easy enough for a weeknight Keep reading, grab your mixing bowl, and let’s dive into a chill slice of chocolate heaven together.
No-Bake Chocolate Cream Pie: Key Benefits
Ever wish you could serve a show-stopping chocolate dessert without heating up the kitchen, or your nerves? This quick chocolate pie dessert does just that, delivering big flavor with almost zero fuss. Here’s why you’ll keep this summer’s no-bake dessert on repeat:
- Zero Oven, Zero Stress
Say goodbye to sweltering afternoons spent watching the timer. Mixing and chilling are all you need, so the pie works beautifully in warm weather or whenever your oven is busy with dinner. - Lightning-Fast Prep
From crust to filling, every step is designed for speed. Most of the “work” is simply waiting for the fridge to firm things up, freeing you to tackle other tasks, or relax with a cold drink. - Make-Ahead Friendly
The pie tastes even better after a night in the fridge, making it ideal for parties, potlucks, and holiday gatherings. You can whip it up a day early and cross dessert off your list. - Customizable Crust & Filling
Swap graham crackers for crushed Oreos, or lighten things up with a gluten-free cookie base. The creamy chocolate layer also welcomes add-ins like espresso powder or peanut butter swirls. - Budget-Smart Ingredients
Pantry staples, crumbs, pudding mix, and milk, keep costs low without skimping on decadence. No specialty tools or gourmet chocolate bars required. - Kid-Approved, Crowd-Pleaser
The silky filling and crunchy crust strike the perfect balance for guests of all ages. Slice, serve, and watch it disappear.
Still on the fence? Picture your guests enjoying cool, velvety bites while you soak up compliments, and not the kitchen heat. That’s the power of mastering this no-bake classic.
Ingredients needed for No-Bake Chocolate Cream Pie
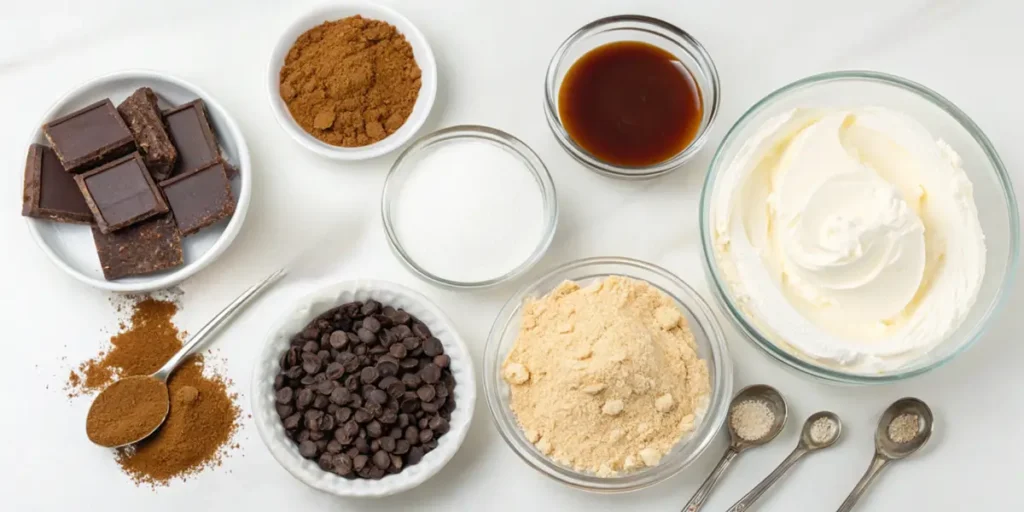
Ever scan a recipe and feel overwhelmed by specialty items? Relax, these chocolate cream pie ingredients are delightfully basic, yet they work together like a dream. Grab a mixing bowl and check your pantry; chances are you already have most of the ingredients listed.
1. Crust (The Crunch Factor)
- 1 ½ cups graham-cracker crumbs
Why grahams? They deliver a toasty, honeyed base that keeps our graham-cracker crust chocolate pie firmly in “classic comfort” territory. - 6 Tbsp unsalted butter, melted
Binds the crumbs for clean slices and adds a subtle richness.
Shortcut: No Graham’s on hand? Pulse Oreo cookies for a darker, cocoa-forward crust; just skip the extra sugar and reduce butter to 5 Tbsp.
2. Filling (The Silky Center)
- 2 boxes (3.9 oz each) instant chocolate pudding mix
Choose “instant” so the pie sets in minutes without heat. - 2 ¾ cups cold whole milk
Cold liquid activates the pudding starches fast; skim milk yields a thinner set. - ½ cup semi-sweet chocolate chips, melted
Deepens color and flavor, microwave in 15-second bursts, stirring between each.
3. Topping (The Cloud on Top)
- 1 ¼ cups heavy whipping cream, chilled
- 2 Tbsp powdered sugar
- 1 tsp pure vanilla extract
Whip these three into soft peaks for that signature whipped-cream chocolate pie finish. Feeling fancy? Fold in a pinch of espresso powder for a mocha twist.
Pantry Check & Substitutions
| Ingredient | Easy Swap | Flavor Note |
| Whole milk | Almond or oat milk | Sets slightly softer; chill at least 6 hr |
| Semi-sweet chips | Dark chocolate (60 %) | Less sweet, more intense |
| Powdered sugar | Maple sugar | Adds light caramel undertone |
Pro Ingredient Tips
- Keep it cold: Chill your mixing bowl and whisk for speedier whipped cream.
- Texture insurance: Press crust crumbs firmly with a flat-bottom glass to prevent crumbling.
- Flavor bloom: Let the melted chocolate cool for five minutes before whisking it into the pudding; hot chocolate can seize and create lumps.
Step-by-Step For No-Bake Chocolate Cream Pie
Ready to see how to make a delicious no-bake chocolate cream pie without breaking a sweat? Follow the roadmap below, and you’ll have a bakery-worthy dessert chilling in the fridge in under 20 minutes.
1. Build the Crust
- Mix graham cracker crumbs and melted butter in a medium bowl until all the crumbs are evenly coated and glossy
- Press & Pack – Tip the mixture into a 9-inch pie plate. Using the bottom of a flat glass, press the crumbs firmly across the base and up the sides.
- Chill for Strength – Slide the plate into the freezer for 10 minutes. A cold crust sets faster and slices cleaner.
2. Whip the Cream
- Chill your mixing bowl and beaters in the freezer for about 5 minutes to get them nice and cold.
- Whip to Peaks Pour in the cold heavy cream, powdered sugar, and vanilla. Beat on medium-high until soft peaks form (about 90 seconds).
- Reserve a Cup Spoon 1 cup of whipped cream into a small bowl, cover, and refrigerate for topping later.
3. Mix the Chocolate Filling
- Whisk together the instant pudding mix and cold whole milk in a large bowl for 2 minutes, until it thickens up.
- Enrich with Chocolate Gently whisk in the cooled, melted semi-sweet chips for deeper flavor and a glossy sheen.
- Lighten the Texture Using a rubber spatula, fold the remaining whipped cream into the pudding in three additions. Think slow, sweeping motions to keep the filling airy.
4. Assemble & Smooth
- Fill the Shell: Spoon the mousse-like mixture into the chilled crust, mounding it slightly in the center.
- Level the Top: Run an offset spatula over the surface, pushing toward the edges for an even layer.
- Cover & Chill Lay a sheet of plastic wrap directly on the filling to prevent skin, then refrigerate for at least 4 hours, or overnight for the firmest slice.
5. Finish & Serve
- Dress with Whipped Cream: Pipe or dollop the reserved cream around the edge.
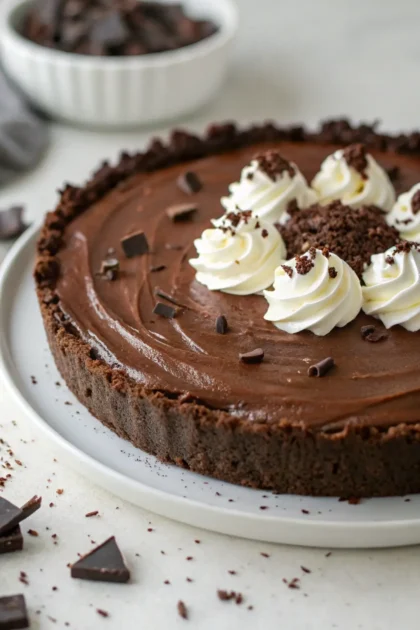
- Add Flair: Shower the pie with shaved chocolate curls or a dusting of cocoa powder.
- Slice Like a Pro: Dip a sharp knife in hot water, wipe dry, and cut clean wedges. Repeat between slices for picture-perfect edges.
Quick Troubleshooter
- The filling looks loose after chilling? Give it one more hour; instant pudding firms up as it rests.
- Crust crumbles when sliced? Next time, press harder or add 1 extra tablespoon of butter for extra binding.
With these clear, step-by-step chocolate pie directions, you’ll master an assembled no-bake pie that tastes like it took hours, but took minutes. Chill, slice, enjoy!
Pro Tips & Flavor Variations
Ever wondered how pastry pros turn a quick chocolate pie dessert into something guests rave about? Below you’ll find my best insider tricks, plus three crave-worthy spins such as the fan-favorite Oreo crust chocolate cream pie. Pick your twist, follow the tips, and watch that pie plate empty fast.
1. Baker-Level Tips for Foolproof Results
- Chill everything, even the spoon. A cold bowl, whisk, and crust keep whipped cream lofty and crust crumbs tight.
- Fold, don’t stir. Use a figure-eight motion to blend cream into pudding; harsh stirring knocks out the air.
- Skip the soggy bottom. Brush the crust with a thin layer of melted chocolate, then chill. It creates a moisture barrier for cleaner slices.
- Slice warm, serve cold. Run your knife under hot water, wipe dry, cut, then slide wedges onto chilled plates. Picture-perfect edges every time.
2. Flavor Twists to Keep It Fresh
- Oreo Dream : Swap Graham’s for crushed Oreos (filling removed). The deep cocoa base intensifies chocolate notes and looks striking against whipped topping.
- Mocha Buzz: Dissolve 1 teaspoon espresso powder into the melted chips before whisking them into the pudding. Coffee highlights the chocolate without adding extra sweetness.
- Peanut-Butter Marble : Warm ⅓ cup creamy peanut butter, drizzle over the filling, then drag a toothpick in figure-eights to create a marbled effect.
3. Dietary Swaps You Won’t Notice
- Low-Sugar Chocolate Cream Pie
- Use sugar-free pudding mix and replace half the chips with 70 % dark chocolate.
- Sweeten whipped cream with a monk-fruit blend to keep calories in check.
- Use sugar-free pudding mix and replace half the chips with 70 % dark chocolate.
- Gluten-Free Chocolate Pie
- Replace Graham’s with certified GF cookies or a nut-and-date crust.
- Confirm your pudding mix carries a gluten-free label; most do, but double-check.
- Replace Graham’s with certified GF cookies or a nut-and-date crust.
4. Storage Hacks for Stress-Free Hosting
- Make-Ahead Magic: Pie holds for 48 hours in the fridge; add whipped topping the morning of serving for the freshest look.
- Freeze for Future Cravings: Flash-freeze slices on a sheet, wrap tightly, then store up to one month. Thaw overnight in the fridge; the texture stays surprisingly creamy.
- Revive the Crunch: If the crust softens, pop individual slices in the freezer for 10 minutes before plating. It firms the butter, restoring that satisfying snap.
With these pro tips and creative riffs, your no-bake masterpiece can be anything you imagine, classic, gourmet, or diet-friendly, all while staying blissfully oven-free
Serving Suggestions That Wow
A slice of chilled, whipped-cream chocolate pie is already a winner, but the right presentation can turn “yum” into “jaw-dropping.” Wondering how to elevate this summer’s no-bake dessert without adding extra work? Try these simple strategies:
1. Garnish Like a Pro
- Chocolate Curls – Run a veggie peeler along a room-temperature chocolate bar; shower curls over the pie for instant bakery vibes.
- Berry Burst – Line the rim with fresh raspberries or sliced strawberries. Their tart pop balances the creamy filling.
- Mint Confetti – Snip a few mint leaves into ribbons and sprinkle lightly; the green adds color contrast and a fresh aroma.
Quick Tip: Keep garnishes dry. Wet fruit can bleed color into the topping and mute that snowy whipped-cream finish.
2. Plate Each Slice With Purpose
- Warm the Knife – Dip in hot water, wipe dry, cut, repeat. Clean edges photograph beautifully.
- Swipe of Sauce – Drag a spoonful of raspberry coulis or caramel across the plate before the slice goes down. It looks chef-level and adds flavor.
- Crunch Element – Scatter crushed graham crackers or toasted nuts on the plate; diners love a little textural surprise.
3. Beverage Pairings
- Hot Brew – A robust espresso makes the chocolate seem even richer.
- Cold Contrast – Tall glasses of iced coffee or milk shake off summer heat.
- Evening Upgrade, A small pour of tawny port or aged rum echoes the pie’s cocoa notes, perfect for adults at the table.
4. Make It Buffet-Friendly
Hosting a crowd? Cut the pie into bite-size squares before chilling fully, then serve on a platter lined with mini cupcake liners. Guests can grab-and-go without forks, and you’ll spend less time washing dishes.
5. Dress It Up for the Holidays
Swap the graham crust for ginger snaps, dust the whipped topping with cinnamon, and you’ve got a festive twist that slots easily into any winter spread, proof that a no-bake classic can shine year-round.
With these easy, no-bake chocolate pie garnish ideas and smart pairings, every slice becomes a mini celebration, no pastry degree required.
Your Turn to Master the Best No-Bake Chocolate Cream Pie
So, are you ready to claim bragging rights for the best no-bake chocolate cream pie recipe on your block? With a graham-cracker crust that snaps, a silky chocolate filling, and cloud-like whipped cream, this dessert proves that great flavor doesn’t need an oven timer.
Quick Recap Before You Grab a Fork
- Minimal Effort, Maximum Payoff – Ten minutes of hands-on prep delivers a bakery-worthy finish.
- Flexible & Fail-Safe – From Oreo crusts to low-sugar swaps, the pie welcomes your creativity.
- Make-Ahead Friendly: Assemble today, chill overnight, and enjoy stress-free entertaining tomorrow.
If you found this make-ahead chocolate pie guide helpful, go ahead and:
- Pin or print the recipe for easy access next time a chocolate craving strikes.
- Share a photo on social media and tag me; nothing makes my day like seeing your success.
- Explore more no-bake ideas in our dessert archive (start with my crowd-favorite Oreo crust guide).
Remember, every chilled slice carries the simple joy of homemade sweetness, no oven mittens required. Keep the kitchen cool and the praise coming. Happy mixing, happy chilling, and even happier eating!
Frequently Asked Questions
How long can I store chocolate cream pie in the fridge?
You can store chocolate