Introduction:
Ever tried making sushi at home, only to realize your rice is too mushy, too dry, or just… not quite right? You’re not alone! Perfect sushi rice is the secret to restaurant-quality rolls, and guess what? You don’t need a fancy rice cooker to nail it. In this guide, I’ll walk you through how to cook sushi rice on the stove yes, that trusty pot in your cupboard! using simple techniques like rinsing, soaking, and simmering to unlock that signature sticky-yet-fluffy texture.
Whether you’re prepping for a sushi night or just craving a bowl of savory, seasoned rice, this method guarantees authentic results every time. Ready to transform humble grains into the glossy, pillowy base of your sushi dreams? Let’s dive in your homemade rolls will thank you later. 🍚
Essential Tools & Ingredients for Stovetop Sushi Rice
The Rice: Your Secret Weapon 🍚

Japanese short-grain rice is the only rice you need here. Its sticky, plump grains cling together perfectly for rolls, Nigerien, or bowls.
- What to buy: Look for labels like Koshihikari or sushi rice. Avoid long-grain varieties (they’ll crumble!).
- Backup plan: In a pinch, Arborio rice (yes, risotto rice!) works, it’s starchy and forgiving.
Tools You Already Own
No rice cooker? No problem! Grab:
- A heavy-bottomed pot (like a Dutch oven) for even heat.
- Fine mesh strainer to rinse off excess starch (key for non-gummy rice!).
- Wooden spatula or paddle to gently fold seasoning without crushing grains.
- Damp kitchen towel to trap steam while resting the rice (game-changer alert!).
The Flavor Trio: Simple Seasoning
Sushi rice’s iconic tangy-sweet flavor comes from:
- Rice vinegar (¼ cup) – Use unseasoned to control sweetness.
- Sugar (2 tbsp) – Balances acidity.
- Salt (1 tsp) – Locks in yumami.
- Optional upgrade: Toss a 2-inch kombu (kelp) strip into the cooking water for subtle oceanic depth.
Pro Tip: Rinse Like Your Sushi Depends on It!
Rinsing removes starch that causes mushiness:
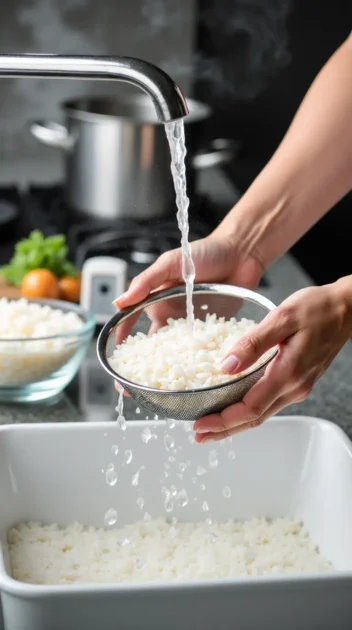
- Swirl rice in a strainer under cold water until the water runs almost clear (4-5 rinses).
- Soak for 20 minutes to soften grains (set a timer, patience pays off!).
Now that you’ve gathered your A-team, let’s turn these basics into sushi magic! 🔥 Next up: The step-by-step cook (spoiler: it’s easier than you think). 🍚
Step-by-Step Guide to Cooking Sushi Rice on the Stove

Rinse & Soak: The Secret to Non-Gummy Rice
Why it matters: Rinsing removes excess starch (the enemy of fluffy rice!), while soaking ensures even cooking.
- Rinse like a pro:
- Place rice in a fine mesh strainer.
- Run cold water over it, swirling with your fingers, until the water runs clear (about 4-5 rinses). No strainer? Use a bowl and drain carefully!
- Soak for 20 minutes:
- Transfer rinsed rice to a bowl, cover with fresh water, and let it soak.
- Tip: Set a timer! This step softens grains for that ideal tender bite.
Master the Simmer: Your Stovetop’s Magic
Golden ratio: 1 cup rice to 1.25 cups water (adjust for humidity more on that later!).
- Drain and cook:
- Drain soaked rice, add to a heavy-bottomed pot with fresh water (and a kombu strip for bonus umami, if using).
- Low and slow wins:
- Bring to a boil over medium heat, then immediately reduce to low, cover, and simmer for 15 minutes.
- Resist the urge to peek! Trapped steam is your secret weapon.
- Rest and steam:
- Turn off the heat. Leave the lid on and let it rest for 10 minutes.
- Pro move: Place a damp cloth under the lid to lock in moisture.
Seasoning: Where the Magic Happens
The trio you need: Rice vinegar, sugar, and salt.
- Mix the seasoning:
- Combine ¼ cup rice vinegar, 2 tbsp sugar, and 1 tsp salt in a small bowl.
- Warm gently (microwave 10-15 seconds) to dissolve sugar. Cold = gritty rice!
- Fold, don’t stir:
- Transfer rice to a non-metallic bowl. Drizzle seasoning evenly over the rice.
- Use a wooden paddle to fold gently in a slicing motion, this keeps grains intact.
- Cool it like a sushi chef:
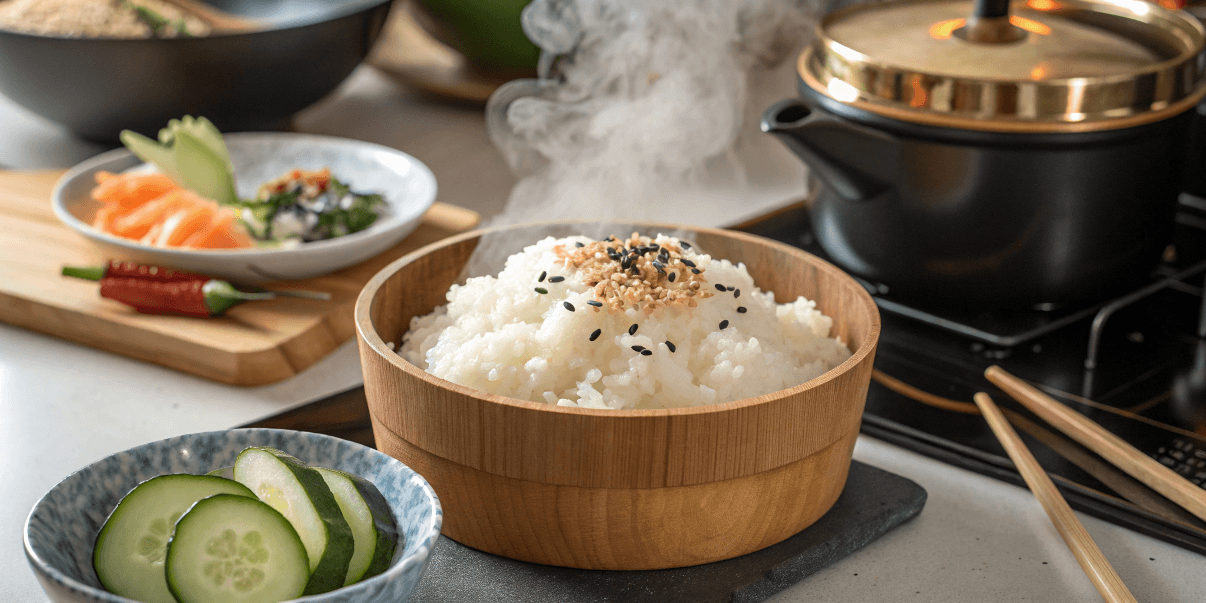
- Fan the rice while folding to cool it quickly and lock in that glossy shine.
- No fan? Wave a baking sheet or plate over the bowl, it works!
And voilà! You’ve just made sushi rice so good, it’ll rival your favorite takeout spot. 🎉 Ready to roll? Let’s tackle common mistakes (and fixes!) next. 🔥
Seasoning Sushi Rice Like a Pro
(This is where plain rice transforms into tangy, glossy sushi magic, let’s make it shine!)
Mix the Perfect Seasoning Blend
The classic trio:
- ¼ cup rice vinegar (unseasoned for control)
- 2 tbsp sugar (balances acidity)
- 1 tsp salt (enhances umami)
- Dissolve like a boss:
- Warm the mixture in a microwave (10 seconds) or saucepan until sugar melts. Cold vinegar = gritty rice!
- Optional: Add a pinch of kombu powder for an extra umami kick.
Gentle Folding = Fluffy, Not Mushy
Why rough handling ruins it: Crushing grains turns rice into glue.
- Use a wooden paddle (metal smashes grains!):
- Slice through the rice vertically, then fold like you’re turning pages in a book.
- Fan it like you mean it:
- Wave a fan (or cookie sheet!) over the rice as you fold. This cools it quickly, locking in gloss and preventing sogginess.
- No fan? Spread rice on a baking sheet for 5 minutes.
Taste Test & Tweak
Your tongue is the ultimate judge:
- Too tangy? Add a pinch of sugar.
- Too sweet? Sprinkle a few drops of vinegar.
- Pro tip: Season while rice is warm, it absorbs flavors like a sponge!
Troubleshooting Seasoning Slip-Ups
- Seasoning pooled at the bottom? Drizzle slower and fold faster.
- Rice clumping? Gently break lumps with the paddle, no smushing!
- Too dry? Mist with a bit of vinegar-water (1:1 ratio).
And just like that, your rice is ready to star in rolls, bowls, or even sushi burritos! 🍣🔥 Next up: Pro tips to avoid (and fix) common sushi rice disasters. Stay tuned! ✨
Pro Tips for Flawless Stovetop Sushi Rice
(Little tweaks that make a BIG difference, let’s elevate your rice game!)
Keep the Lid Closed (Seriously, No Peeking!)
Why it works: Trapped steam = evenly cooked, fluffy grains. Lifting the lid releases heat and dries out the rice.
- Struggle with temptation? Set a timer, walk away, and trust the process.
The Ice Cube Hack for Perfect Doneness
How to check rice without opening the pot:
- After simmering, place 1 ice cube on the lid.
- If it melts completely during the 10-minute rest, your rice is perfectly steamed!
(No ice? Listen for faint crackling sounds, it means moisture is escaping!)
Humidity Adjustments for Your Climate
Tropical or dry? Tweak the water ratio:
- Humid kitchens: Reduce water by 1-2 tbsp to avoid mushiness.
- Dry climates: Add 1 tbsp extra water to prevent dryness.
- Pro tip: Track adjustments in a cooking journal for future batches.
Reuse Kombu Like a Sushi Master
Don’t waste that kelp!
- Rinse and dry used kombu, then simmer it in soups, broths, or even rice for instant umami.
- Storage hack: Keep dried kombu in an airtight container for up to 3 months.
Quick Fixes for Common Oopsies
- Burnt bottom? Scoop unburnt rice into a new pot, add 2 tbsp water, and re-steam for 5 minutes.
- Rice too wet? Spread it on a tray and fan for 5 extra minutes to evaporate moisture.
- Grains sticking to the pot? Soak the pot in warm water for 10 minutes, no scrubbing needed!
With these pro hacks, you’ll tackle any stovetop sushi rice challenge like a seasoned chef. 🎌 Next up: Your burning FAQs answered (spoiler: yes, we’ve got you covered!). 🔥✨
Common Mistakes and How to Fix Them (Save Your Sushi Rice!)
(Even pros make mistakes, here’s how to rescue your rice and your sushi night!)
Overcooked or Undercooked Rice SOS
The fix is easier than you think:
- Undercooked rice:
- Add 2 tbsp water, cover, and simmer on low for 3–5 minutes. Test texture.
- Overcooked mush:
- Spread rice on a baking sheet to cool/dry. Use it for sushi bowls or fried rice!
- Prevent it next time: Stick to the 15-minute simmer + 10-minute rest rule.
Wrong Rice? Here’s How to Pivot
Accidentally used long-grain or basmati?
- Salvage it:
- Mix in 1 tbsp rice vinegar + 1 tsp sugar to enhance stickiness.
- Use for sushi bowls, not rolls.
- Next time: Label your rice bags! Short-grain is non-negotiable for rolls.
Skipped the Resting Phase? Don’t Panic!
Forgot to let the rice steam after cooking?
- Quick fix:
- Place a damp cloth over the rice, cover, and microwave for 20 seconds to re-steam.
- Why it matters: Resting redistributes moisture for fluffy (not gummy!) grains.
Storing Leftovers Without the Sogginess
Keep your rice fresh for days:
- Cool it fast: Spread rice in a thin layer on a tray.
- Store airtight: Refrigerate for up to 2 days.
- Reheat like new: Sprinkle 1 tsp water over rice, cover with a damp cloth, and microwave in 30-second bursts.
Rice Sticking to the Pot? No More!
Prevent the dreaded crust:
- Use a heavy-bottomed pot and keep heat low.
- Soak the pot in warm water for 10 minutes post-cooking, burnt bits wipe away easily!
Remember: Even “failed” rice can become sushi bowls, fried rice, or snacks! 🎉 Now that you’re armed with fixes, let’s tackle your burning FAQs next. 🔥 (Spoiler: Yes, you can make sushi rice ahead of time! 😉)
FAQs About Cooking Sushi Rice on the Stove
Can I Use Regular Rice for Sushi?
Short answer: Technically yes, but short-grain Japanese rice is king for that sticky, pliable texture.
- Long-grain rice (like jasmine or basmati) crumbles, save it for stir-fries!
- In a pinch: Arborio (risotto rice) works for sushi bowls, but not rolls.
How Long Does Sushi Rice Last?
Store it right, and it stays fresh:
- Fridge: Up to 2 days in an airtight container.
- Freezer: Portion into bags (squeeze out air!) for up to 1 month.
- Revive it: Sprinkle with water, cover with a damp cloth, and microwave in 30-second bursts.
Why Is My Rice Too Sticky/Mushy?
Common culprits + fixes:
- Over-rinsing/under-rinsing: Rinse until water runs almost clear (4-5 times).
- Too much water: Reduce by 1-2 tbsp next time.
- Over-stirring: Fold gently with a wooden paddle, no smushing!
Can I Make Sushi Rice Ahead of Time?
Yes! But timing is key:
- Same-day: Prep rice 2-3 hours ahead. Store at room temp, covered with a damp cloth.
- Next-day: Refrigerate, but reheat gently (see storage tips above).
- Avoid making it more than a day ahead, freshness matters!
What If I Don’t Have Rice Vinegar?
Substitutes that work:
- Apple cider vinegar + sugar: Mix ¼ cup vinegar + 1 tbsp sugar + ½ tsp salt.
- Lemon juice (sparingly): Adds tang but lacks umami, add a pinch of sugar.
- Skip balsamic or white wine vinegar, they overpower the rice.
Still have questions? Drop them in the comments, we’re here to rescue your sushi rice (and your sushi night)! 🍣✨
Dietary Adaptations: Sushi Rice for Every Diet
(Because everyone deserves perfect sushi rice, no matter their dietary needs!)
Vegan & Plant-Based Tweaks
Swap without sacrificing flavor:
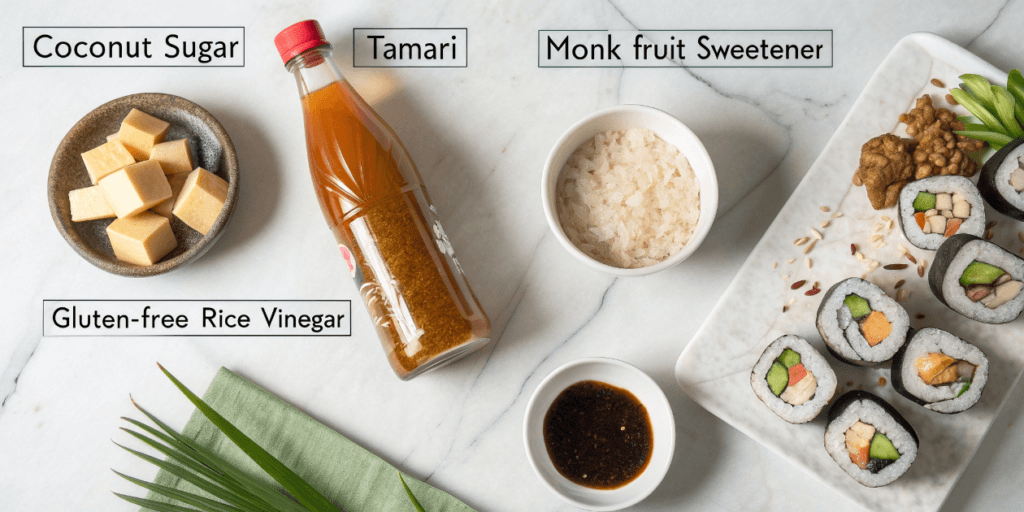
- Sugar substitute: Use coconut sugar or maple syrup for a plant-based sweetener.
- Kombu alternative: Add 1 tsp mushroom powder to the cooking water for umami depth.
- Pro tip: Skip imitation crab in rolls, opt for marinated tofu or roasted veggies!
Gluten-Free Guaranteed
Safely savor every bite:
- Rice vinegar check: Ensure it’s labeled gluten-free (some brands add malt).
- Soy sauce swap: Use tamari or coconut aminos for dipping and seasoning.
- Bonus: Skip tempura flakes in rolls, try crispy quinoa or sesame seeds.
Low-Sodium Sushi Rice
Cut salt, keep flavor:
- Reduce seasoning salt: Use ½ tsp instead of 1 tsp.
- Boost tang: Add a splash of lemon juice to the rice vinegar mix.
- Flavor hack: Garnish with citrus zest or fresh herbs (shiso, cilantro).Sugar-Free Options
For keto or diabetic-friendly needs:
- Sugar substitute: Replace sugar with 1 tbsp erythritol or monk fruit sweetener.
- Balance acidity: Add 1 extra tbsp rice vinegar to compensate for sweetness loss.
- Texture note: Sugar-free rice may be less glossy but still sticky!
Dietary restrictions don’t mean missing out! With these simple swaps, your sushi rice can cater to any lifestyle. 🌱 Got a unique adaptation? Share it below your hack might be someone’s kitchen breakthrough!

