Introduction
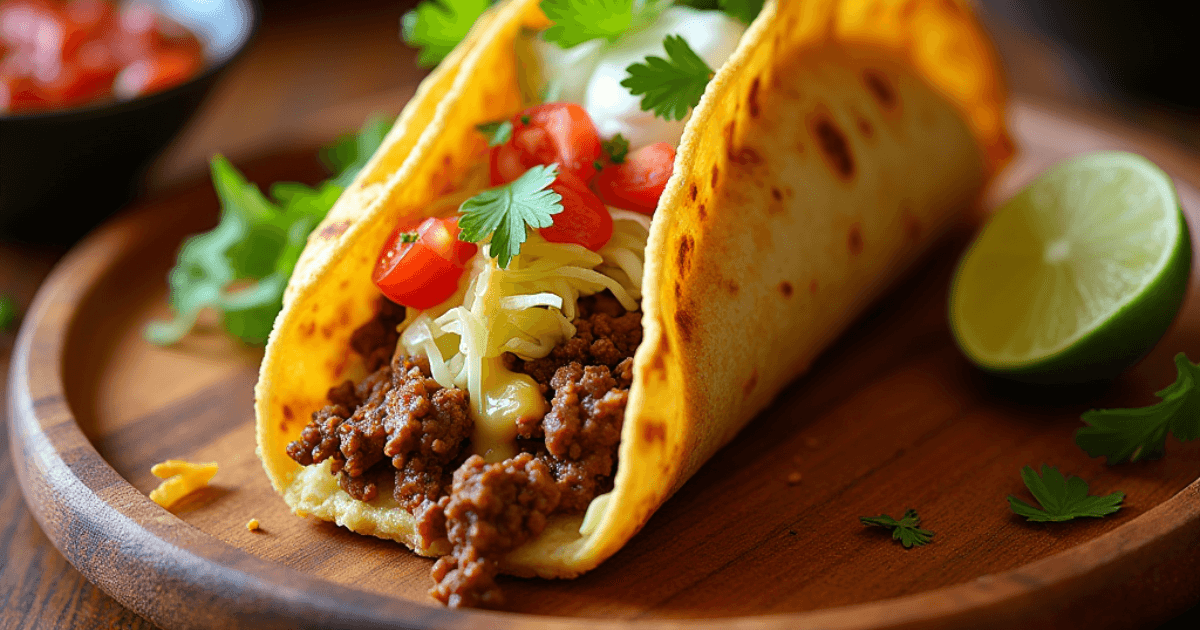
Do you ever find yourself craving the perfect blend of soft, cheesy comfort and satisfying crunch? The Cheesy Gordita Crunch is a flavor-packed delight that brings together the best of both worlds. Whether you’re a fan of Taco Bell’s iconic version or just love quick Mexican-inspired recipes, this homemade twist will have you hooked. In just 10 minutes, you can whip up a restaurant-quality meal using simple ingredients you likely already have. Perfect for weeknight dinners, casual gatherings, or a quick snack, this recipe is as versatile as it is delicious. Let’s dive in and make this cheesy, crunchy masterpiece together!
Key Benefits
When it comes to quick, satisfying meals, the Cheesy Gordita Crunch is in a league of its own. Here’s why you’ll love making this recipe:
- Fast and Easy: Ready in just 10 minutes, this dish is perfect for busy weeknights or when you need a last-minute crowd-pleaser.
- Budget-Friendly: With simple, affordable ingredients, you can create a restaurant-quality meal at home without breaking the bank.
- Customizable: From protein choices like seasoned chicken or beans to endless topping possibilities, this recipe fits your tastes effortlessly.
- Kid-Friendly: Its cheesy, crunchy layers are sure to be a hit with the little ones, making it a go-to family favorite.
- Healthier Alternative: By making it at home, you can control the ingredients, reducing sodium and opting for fresher, more wholesome components.
This recipe isn’t just about great taste—it’s about creating a moment to enjoy something special with your loved ones. Let’s get started!
Ingredients
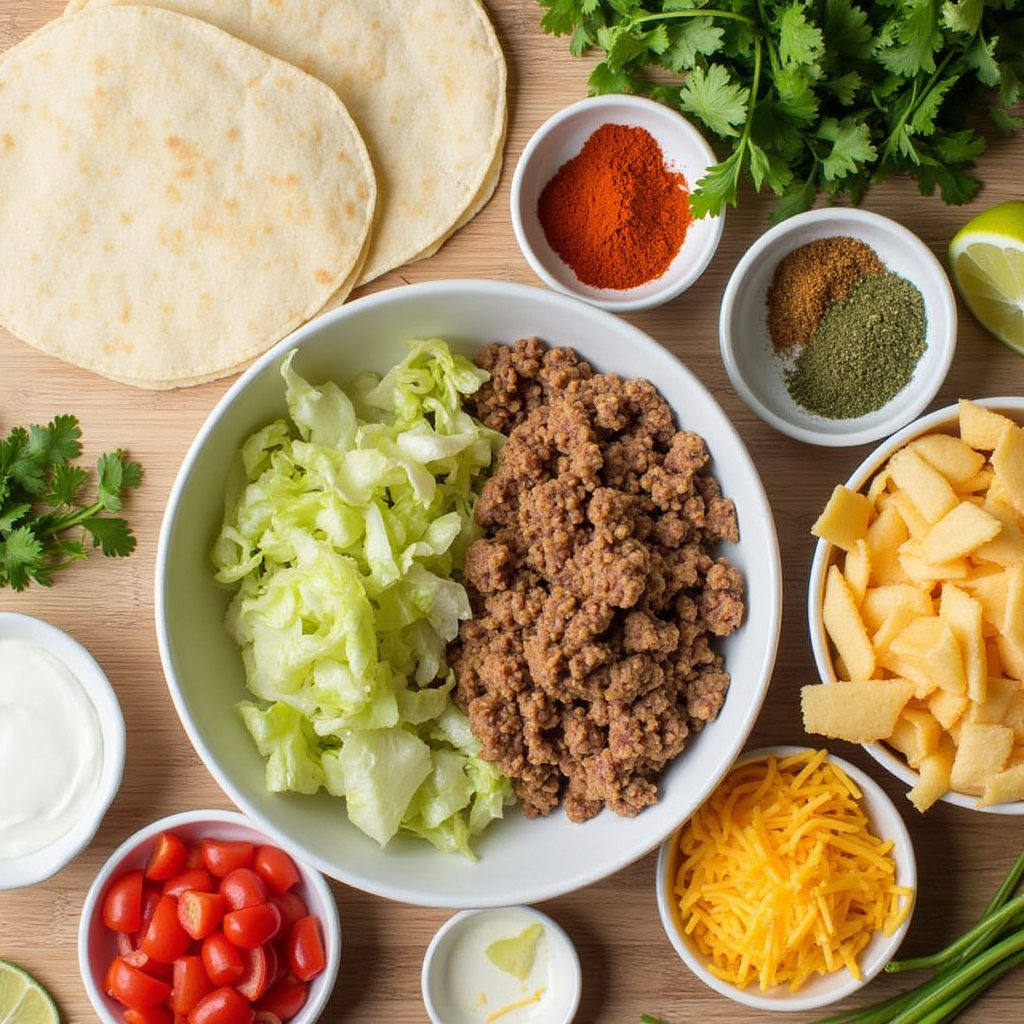
To recreate this Cheesy Gordita Crunch in your own kitchen, you’ll need a handful of simple, flavorful ingredients. Here’s everything to gather:
Gordita:
- Soft taco shells (4 medium-sized) – Look for pliable ones that fold easily without tearing.
- Crunchy taco shells (4) – These add the signature crunch.
Filling:
- Seasoned ground beef or chicken (1 cup) – Use your favorite taco seasoning for bold, smoky flavor.
- Shredded lettuce (1 cup) – Adds a fresh, crisp texture.
- Diced tomatoes (½ cup) – Choose ripe, juicy tomatoes for the best taste.
Cheese Layer:
- Shredded cheese (1 cup, cheddar or Monterey Jack) – For that gooey, melty goodness.
- Cheese sauce (optional, ½ cup) – To elevate the cheesy factor.
The Sauce:
- Sour cream or ranch dressing (¼ cup) – Creamy and tangy, tying all the flavors together.
Optional Toppings:
- Jalapeños, olives, or avocado slices for extra flair.
- Hot sauce for a spicy kick.
Having all your ingredients prepped and ready to go ensures a smooth and enjoyable cooking experience. Now, let’s bring these flavors to life!
Instructions
Ready to dive into making this delicious Cheesy Gordita Crunch? Let’s get cooking! Follow these easy steps, and you’ll have a plate full of cheesy, crunchy goodness in no time.
- Prepare the Filling
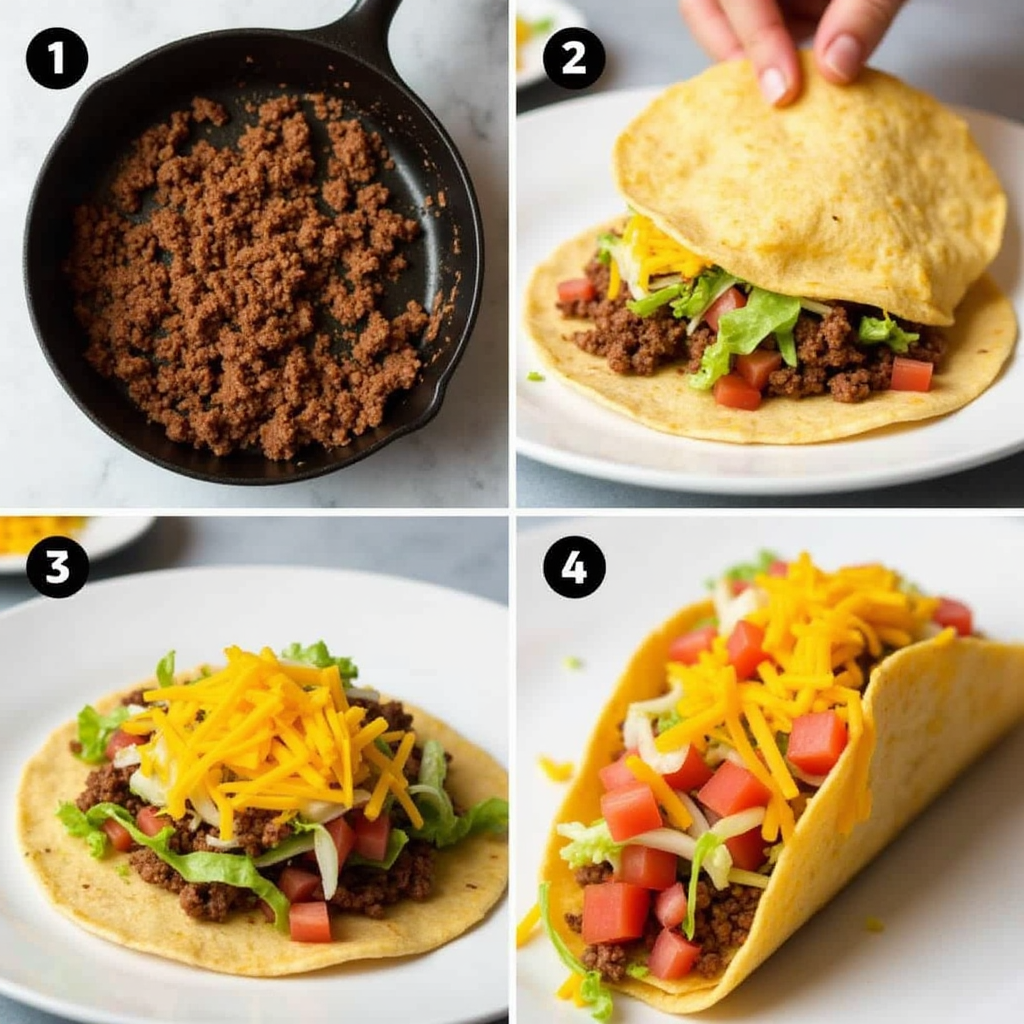
- In a skillet, heat a little oil over medium heat. Add your ground beef (or chicken) and cook until browned.
- Drain any excess fat and stir in your taco seasoning along with a splash of water (about ¼ cup). Let it simmer for 2-3 minutes until the flavors meld together. Set aside.
- Warm the Taco Shells
- Heat your soft taco shells and crunchy taco shells separately. Warm the soft shells in a skillet for about 20-30 seconds on each side, just until they’re pliable. Then, warm the crunchy taco shells in the oven according to the package instructions for extra crispiness.
- Assemble the Gordita
- Place one soft taco shell on a flat surface.
- Spread a generous amount of cheese sauce (if using) on the center. Top with a spoonful of your seasoned meat mixture, followed by a sprinkle of shredded cheddar or Monterey Jack cheese.
- Add Crunch and Toppings
- Carefully slide the crunchy taco shell into the center of the soft taco. Press lightly so the layers stick together.
- Add shredded lettuce, diced tomatoes, and a dollop of sour cream or ranch dressing on top.
- Final Touches
- If you like some heat, top with jalapeños or your favorite hot sauce.
- Fold the soft taco around the crunchy taco, ensuring it holds together, and you’re all set for a delicious bite!
These steps might seem simple, but they deliver a flavor-packed meal that’s perfect for any occasion. Enjoy your homemade Cheesy Gordita Crunch and impress your family and friends with this irresistible creation!
Pro Tips and Variations
Now that you’ve got the basics down, let’s take your Cheesy Gordita Crunch to the next level with these helpful tips and fun variations:
Pro Tips:
- Perfectly Warmed Shells: If your taco shells aren’t warm enough, they might tear when you fold them. To prevent this, keep your soft taco shells in a clean kitchen towel to stay warm while you prep the others.
- Make It Extra Cheesy: If you love cheese (who doesn’t?), try adding a little cheese sauce inside the soft taco shell before you add the meat. It makes every bite extra gooey and delicious!
- Balance Crunch: The key to a perfect Cheesy Gordita Crunch is balancing the crunchy taco shell with the softness of the gordita. If you want a little more crunch, you can bake your crunchy shells for an extra minute or two.
- Use Fresh Ingredients: When it comes to toppings like lettuce and tomatoes, fresh makes all the difference. Opt for ripe, in-season tomatoes for a juicy burst of flavor!
Variations:
- Vegetarian Version: Swap out the meat for seasoned black beans or lentils for a plant-based twist that’s just as satisfying.
- Spicy Kick: Add some jalapeños or a drizzle of hot sauce to turn up the heat. A little sriracha or chipotle sauce can add a smoky flavor that’s irresistible.
- Chicken or Beef: If you’re craving variety, try swapping the ground beef for shredded chicken or even ground turkey for a leaner option. Both work wonderfully in this recipe!
- Extra Sauces: For even more layers of flavor, you can add a drizzle of creamy guacamole or your favorite salsa for a tangy and fresh bite.
With these pro tips and easy variations, you can create a Cheesy Gordita Crunch that’s tailored to your tastes, whether you want it spicy, veggie-packed, or extra cheesy. Enjoy experimenting and making this recipe your own!
Serving Suggestions
Now that your Cheesy Gordita Crunch is ready to enjoy, here are some tasty serving suggestions to elevate the experience:
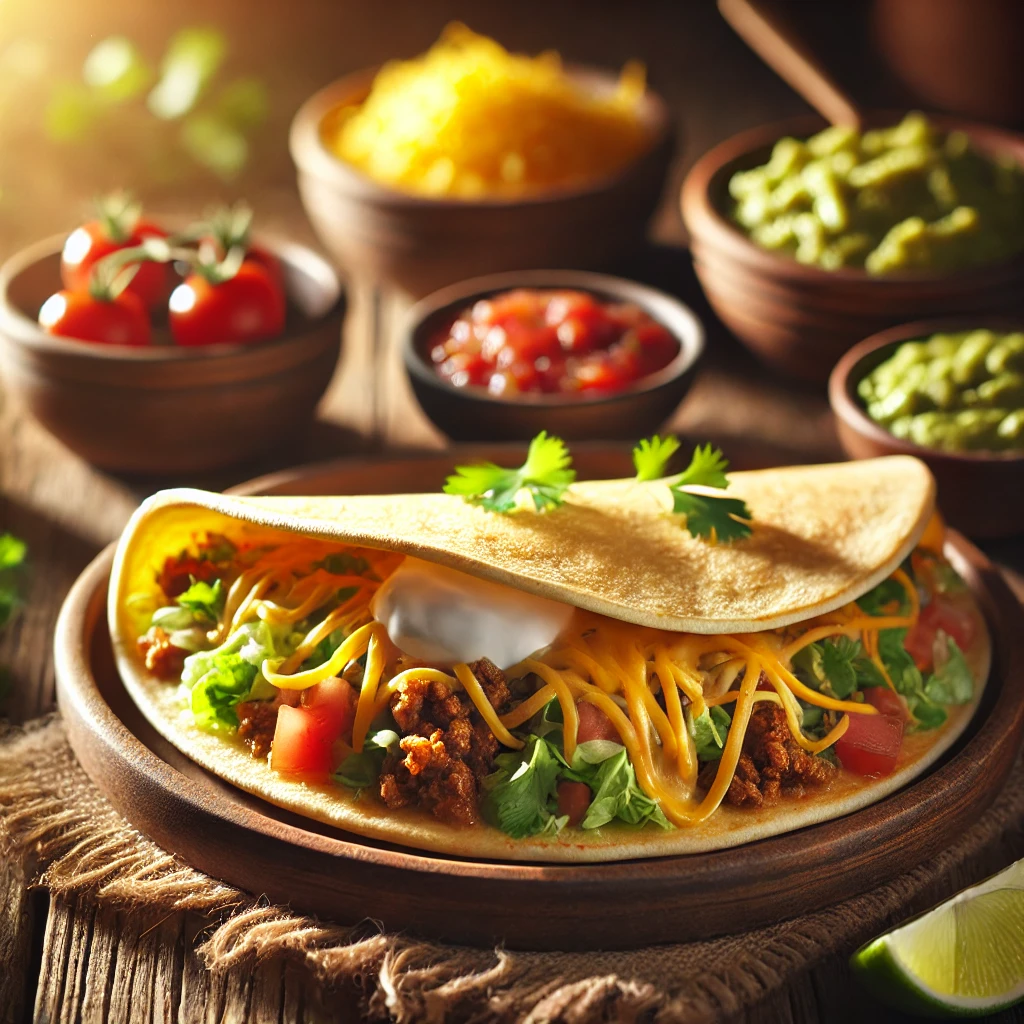
- Pair with Sides: This crunchy, cheesy delight pairs perfectly with sides like Mexican rice, refried beans, or a simple corn salad. You can even serve it with a bowl of guacamole and salsa for a fresh and vibrant touch.
- Fresh Drinks: A refreshing margarita or iced tea complements the flavors beautifully. If you’re keeping things alcohol-free, a tangy limeade or lemonade works just as well!
- Make It a Meal: Serve two or three Cheesy Gordita Crunches per person for a satisfying dinner. You can also add a side of crispy fries or sweet potato fries to keep things extra indulgent.
- Garnish for Extra Flair: Top your gordita with a sprinkle of cilantro or a squeeze of lime for a burst of freshness. You can also add a dash of chili powder or paprika for a little smoky kick.
These serving suggestions not only enhance the flavors but also create a full meal that’s sure to impress. Whether it’s a casual family dinner or a gathering with friends, this dish is bound to be a hit. Enjoy every bite!
Conclusion
There you have it—a quick and delicious Cheesy Gordita Crunch that combines cheesy, crunchy, and fresh flavors in every bite. In just 10 minutes, you can create a homemade version of this fan-favorite that’s sure to impress everyone at the table. The beauty of this recipe lies in its versatility—you can customize it to fit your personal taste with different proteins, toppings, and sauces.
Whether you’re enjoying it as a weeknight dinner or serving it up at a casual get-together, this dish is guaranteed to be a crowd-pleaser. The cheese, crunch, and creamy fillings all come together to create the perfect balance of flavor and texture. So, what are you waiting for? Grab your ingredients and give this recipe a try—you’ll be savoring every bite!
Enjoy your Cheesy Gordita Crunch, and remember, the best part is making it your own!
FAQs
1. Can I make the Cheesy Gordita Crunch ahead of time?
While it’s best enjoyed fresh, you can prepare the filling in advance and store it in the fridge for up to 3 days. Just reheat the meat and assemble the tacos when you’re ready to eat. For the crispy taco shells, it’s best to warm them just before serving to maintain that perfect crunch!
2. Can I make this recipe vegetarian?
Absolutely! Swap the ground beef for seasoned black beans, lentils, or even tofu for a delicious plant-based alternative. These options will still deliver the hearty, satisfying taste that makes this recipe so irresistible.
3. How do I store leftovers?
Store any leftover Cheesy Gordita Crunch in an airtight container in the fridge for up to 2 days. Reheat in the oven to crisp the shells again. The crunchy texture might soften a bit when stored, but it’ll still be tasty!
4. Can I use store-bought cheese sauce?
Yes, store-bought cheese sauce works perfectly here! For an extra rich flavor, you can warm it up before drizzling it over the taco. If you prefer homemade, simply melt some shredded cheese with a bit of milk or cream.
5. How can I make this spicier?
If you love heat, add jalapeños, hot sauce, or even a sprinkle of cayenne pepper to amp up the spice level. You can also drizzle some sriracha or chipotle sauce on top for a smoky kick!
These FAQs should answer any lingering questions you may have. Feel free to customize this recipe to suit your tastes and enjoy every cheesy, crunchy bite!
