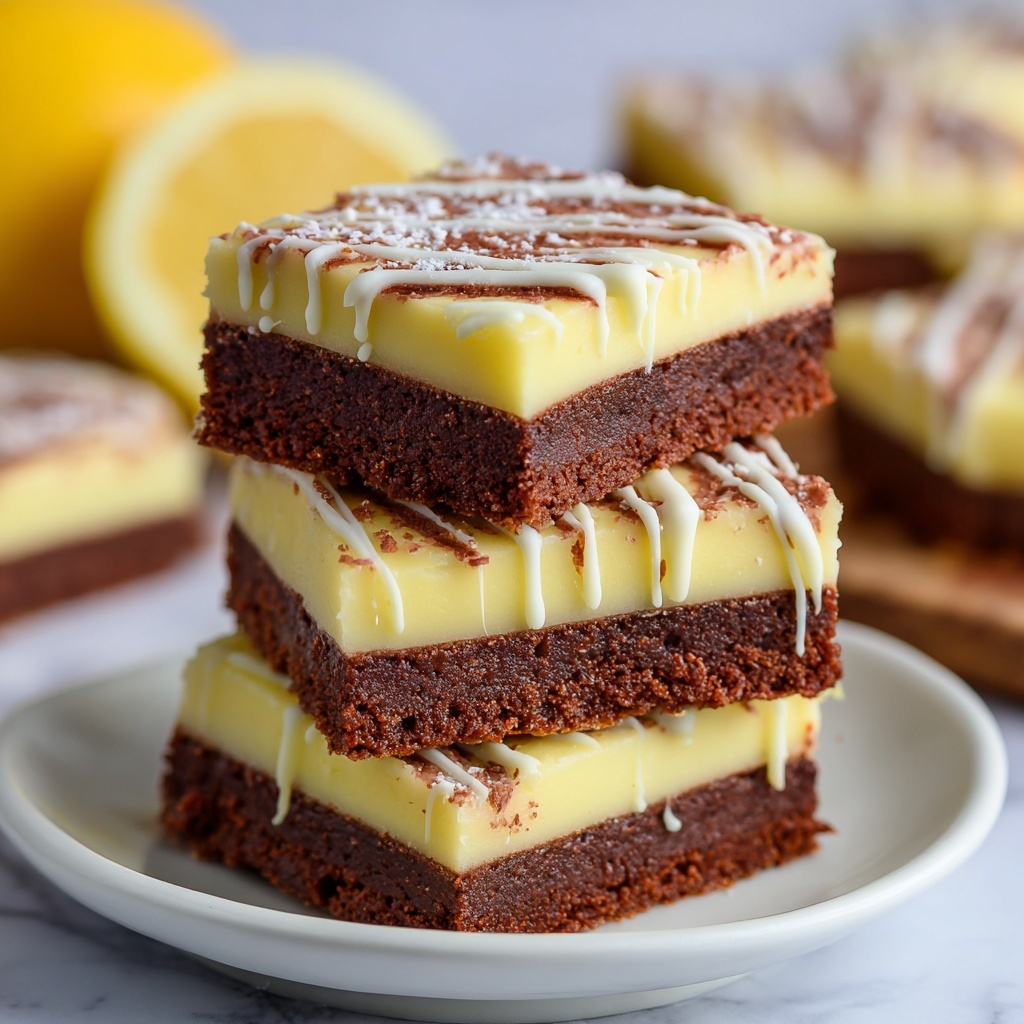
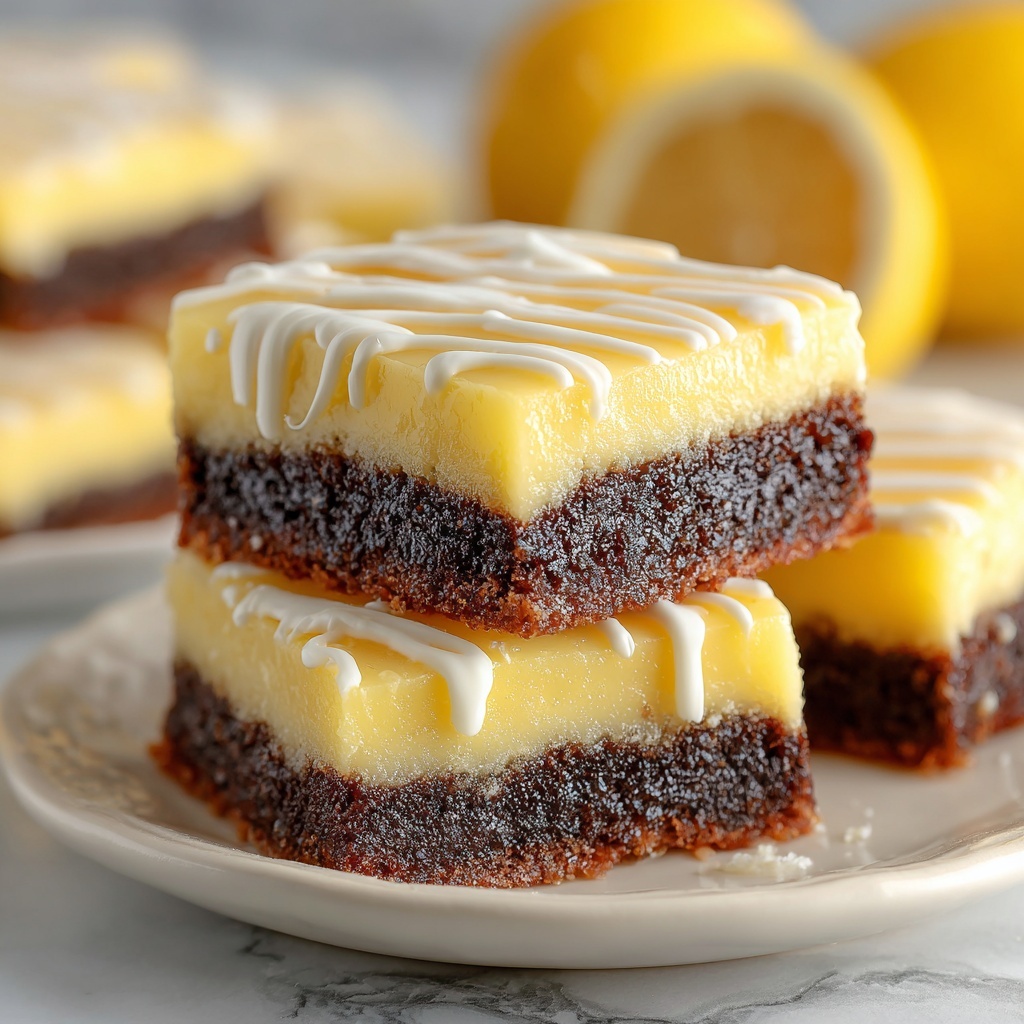
If you have a craving for something bright, zesty, and wonderfully chewy, you’re going to adore this Gluten-Free Lemon Brownies Recipe. These luscious lemon brownies offer that perfect balance of tangy citrus and sweet decadence, all while being completely gluten-free. Whether you need a fresh twist on dessert or a special treat for someone with gluten sensitivities, this recipe blends simple, wholesome ingredients to create a moist, tender bite with a glossy lemon glaze that truly steals the show. Get ready to bring sunshine onto your dessert table!
Ingredients You’ll Need
This Gluten-Free Lemon Brownies Recipe calls for straightforward ingredients that work harmoniously to deliver delightful flavor, texture, and the signature lemony punch. Each item plays a crucial role in making these brownies irresistibly moist, tender, and bursting with citrus brightness.
- Gluten-free all-purpose flour: The foundation that keeps these brownies safe for gluten-sensitive friends without sacrificing crumb or chewiness.
- Baking powder: A little lift to ensure your brownies are perfectly tender and not too dense.
- Salt: Balances the sweetness and enhances the lemon flavors beautifully.
- Unsalted butter, melted: Adds richness and moisture for that melt-in-your-mouth quality.
- Sugar: Sweetens thoughtfully to accentuate the lemon’s natural tartness.
- Large eggs: Bind everything together and contribute to the cake-like texture.
- Fresh lemon juice: The star ingredient, offering that unmistakable zing and freshness.
- Lemon zest: Intensifies the lemon flavor with fragrant oils for an extra punch.
- Vanilla extract: Adds warmth and rounds out the bright citrus notes.
- Powdered sugar: Used in the glaze to provide a silky-smooth sweetness on top.
How to Make Gluten-Free Lemon Brownies Recipe
Step 1: Preheat and Prepare Your Pan
Set your oven to 350°F (175°C) and prepare an 8×8-inch baking pan by greasing it lightly and lining it with parchment paper. This ensures your brownies will lift out easily without sticking, keeping their edges and golden crust intact.
Step 2: Mix the Dry Ingredients
In a medium bowl, whisk together the gluten-free all-purpose flour, baking powder, and salt. This combo ensures your brownies rise just enough and get a crumb that holds together without being tough. Mixing them separately before combining prevents clumps later.
Step 3: Whisk the Wet Ingredients
In a separate bowl, whisk the melted butter and sugar until smooth and slightly glossy. Then add the eggs, fresh lemon juice, lemon zest, and vanilla extract. Mixing these wet ingredients thoroughly helps develop the texture and makes the lemon flavor pop.
Step 4: Combine Wet and Dry Mixtures
Gradually fold the dry ingredients into the wet mixture, stirring gently until just incorporated. Avoid overmixing to keep your brownies tender rather than chewy or cakey. A light hand here is key to the perfect balance.
Step 5: Bake to Perfection
Pour the batter evenly into your prepared pan and smooth the top with a spatula. Bake for 20–25 minutes, or until a toothpick inserted in the center comes out clean but with a few moist crumbs. This ensures they stay fudgy and moist inside. Let the brownies cool completely in the pan before heading to the next step.
Step 6: Make the Lemon Glaze
Whisk powdered sugar, fresh lemon juice, and lemon zest in a small bowl until you get a smooth, pourable glaze. This glaze is what transforms your brownies from lovely to dazzling, adding a glossy finish and extra zing.
Step 7: Glaze the Brownies
Once the brownies are fully cooled, spread the lemon glaze evenly across the top. Give it some time to set so it firms up nicely, creating a thin, sweet-tart icing layer that perfectly complements the tender brownie underneath.
How to Serve Gluten-Free Lemon Brownies Recipe

Garnishes
For an even more charming presentation, sprinkle some extra lemon zest over the glaze or add fresh edible flowers to brighten up each square. A light dusting of powdered sugar can also add a pretty, snowy effect to contrast with the vibrant lemon color.
Side Dishes
These lemon brownies pair wonderfully with a scoop of vanilla bean ice cream or a dollop of fresh whipped cream, adding a creamy dimension that balances the citrus tang. A fresh raspberry or blueberry compote alongside also complements the lemon flavor superbly.
Creative Ways to Present
Try cutting the Lemon Brownies into bite-size squares and serving them on decorative toothpicks for parties or afternoon teas. If you’re feeling adventurous, layer them in a dessert trifle glass with lemon curd and whipped cream for a stunning layered dessert.
Make Ahead and Storage
Storing Leftovers
Store the leftover lemon brownies in an airtight container at room temperature for up to 3 days. This keeps them moist and fresh, preserving the delicate flavors and texture without the glaze melting or drying out.
Freezing
If you want to keep them longer, wrap the unglazed brownies tightly in plastic wrap and foil before freezing. They will stay fresh for up to 3 months. Thaw in the refrigerator overnight and glaze just before serving for the best experience.
Reheating
Warm individual pieces gently in the microwave for about 10–15 seconds to bring back some softness and refresh the aroma. Avoid overheating or the glaze might melt completely. Enjoy them slightly warmed with a scoop of ice cream for extra indulgence.
FAQs
Can I use regular flour instead of gluten-free all-purpose flour?
Yes! While this recipe shines as a gluten-free option, swapping in regular all-purpose flour will work fine if gluten is not a concern, resulting in a similar texture and flavor.
What can I substitute for fresh lemon juice if I don’t have any on hand?
Fresh lemon juice is key for the bright citrus zing, but bottled lemon juice can be used as a last resort. The flavor won’t be quite as vibrant, so you may want to add a tiny bit more lemon zest to boost freshness.
How do I know when the brownies are done baking?
Check by inserting a toothpick into the center; it should come out clean or with just a few moist crumbs. If the toothpick has wet batter on it, give them a few more minutes, checking frequently to avoid over-baking.
Can I make this recipe vegan?
You can substitute the butter with a vegan margarine and use flax eggs (ground flaxseed mixed with water) instead of regular eggs. Keep in mind this may alter the texture slightly, but the lemon flavor will remain beautiful.
What makes these lemon brownies different from regular lemon bars?
The brownie base of this recipe is richer and denser than the typical shortbread-like crust of lemon bars. Plus, these brownies have a deeper buttery flavor and the added lift from baking powder for a cakier feel while staying fudgy.
Final Thoughts
These Gluten-Free Lemon Brownies Recipe are an absolute delight that you’ll want to make again and again. Bursting with fresh lemon flavor, tender texture, and a glossy sweet glaze, they are perfect for sharing or savoring solo with a hot cup of tea. Don’t hesitate—grab your ingredients, whip up a batch, and let these zesty lemon brownies brighten your day!
Print
Gluten-Free Lemon Brownies Recipe
- Prep Time: 10 minutes
- Cook Time: 25 minutes
- Total Time: 35 minutes
- Yield: 9 servings
- Category: Dessert
- Method: Baking
- Cuisine: American
- Diet: Gluten Free
Description
Delight in these zesty Gluten-Free Lemon Brownies, a perfect blend of tangy lemon flavor and rich buttery sweetness. Made with gluten-free flour and topped with a luscious lemon glaze, these brownies are moist, flavorful, and ideal for anyone seeking a gluten-free dessert option.
Ingredients
Dry Ingredients
- 1 cup gluten-free all-purpose flour
- 1/2 teaspoon baking powder
- 1/4 teaspoon salt
Wet Ingredients
- 1/2 cup unsalted butter, melted
- 3/4 cup sugar
- 2 large eggs
- 2 tablespoons fresh lemon juice
- 1 tablespoon lemon zest
- 1/2 teaspoon vanilla extract
Glaze
- 1 cup powdered sugar
- 2 tablespoons fresh lemon juice
- 1 teaspoon lemon zest
Instructions
- Preheat the Oven: Preheat your oven to 350°F (175°C). Grease and line an 8×8-inch baking pan with parchment paper to ensure easy removal of the brownies.
- Mix Dry Ingredients: In a medium bowl, whisk together the gluten-free all-purpose flour, baking powder, and salt until evenly combined.
- Prepare Wet Ingredients: In a separate bowl, whisk the melted unsalted butter with sugar until smooth. Then, add the eggs, fresh lemon juice, lemon zest, and vanilla extract, mixing well until all ingredients are fully incorporated.
- Combine Mixtures: Gradually fold the dry ingredient mixture into the wet ingredients, stirring gently until just combined. Be careful not to overmix to maintain a tender texture.
- Bake: Pour the batter into the prepared baking pan and spread it evenly. Bake in the preheated oven for 20-25 minutes, or until a toothpick inserted in the center comes out clean. Allow the brownies to cool completely in the pan.
- Make Glaze: While the brownies cool, whisk together the powdered sugar, fresh lemon juice, and lemon zest until smooth and free of lumps.
- Glaze the Brownies: Spread the lemon glaze evenly over the cooled brownies. Let the glaze set before cutting the brownies into squares for serving.
Notes
- Ensure the gluten-free flour blend you use contains xanthan gum or you may need to add it separately for better texture.
- Do not overbake to keep the brownies moist and fudgy.
- The lemon glaze adds a fresh tang, but you can omit it if you prefer a less sweet topping.
- Store brownies in an airtight container at room temperature for up to 3 days or refrigerate for longer freshness.
- For an extra twist, sprinkle some poppy seeds into the batter before baking.

