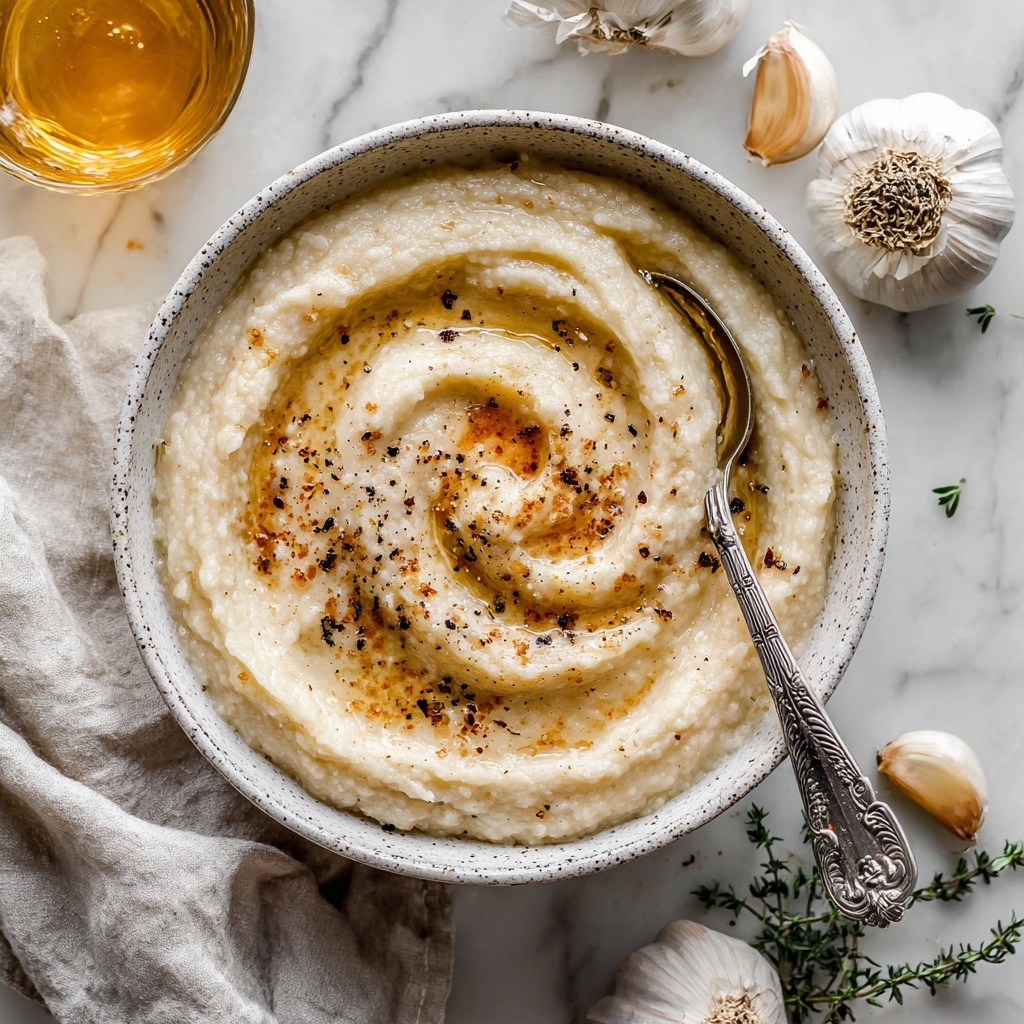
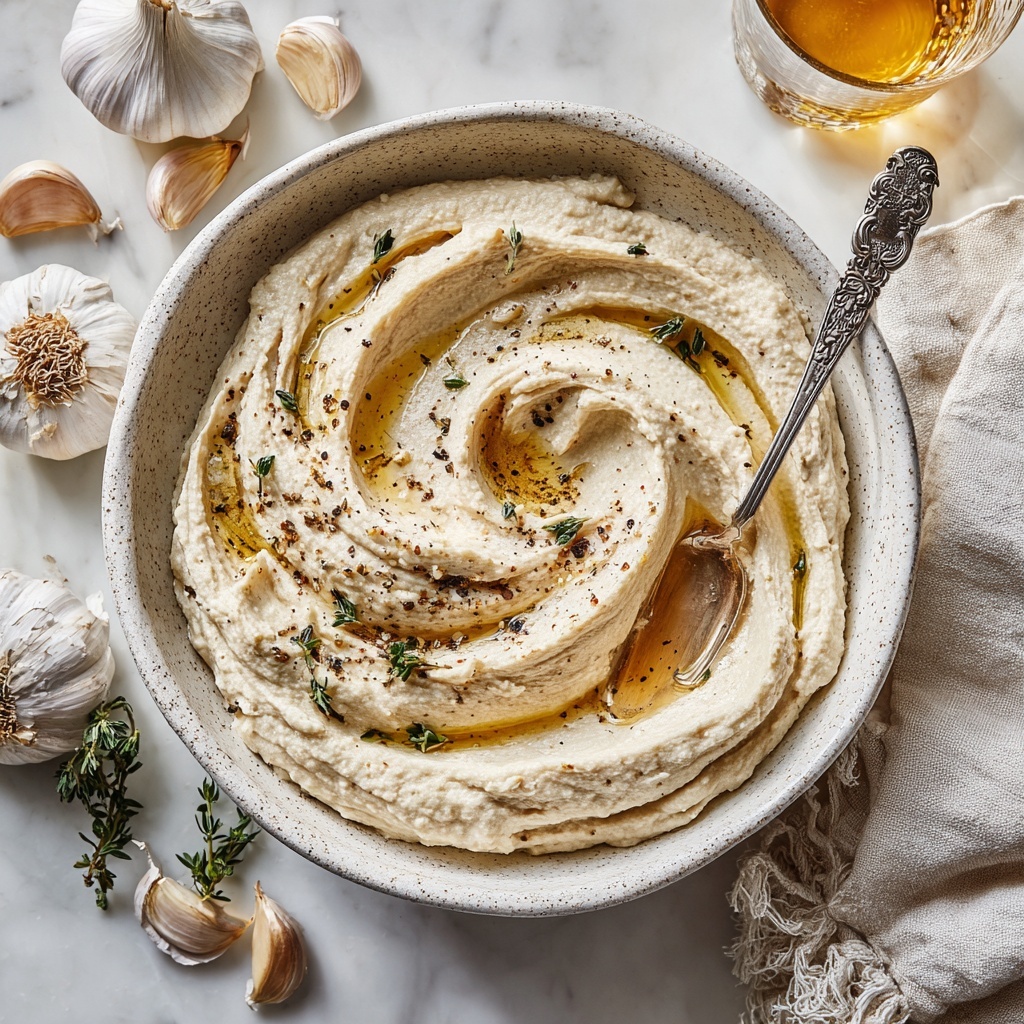
If you are looking to elevate your everyday meals with a burst of flavor, this Creamy Garlicky Aioli Recipe is exactly what you need. Rich, luscious, and packed with just the right amount of tang and garlic punch, this aioli transforms simple dishes into memorable bites. Whether you’re dipping crisp fries, spreading it on sandwiches, or drizzling it over roasted veggies, this aioli brings a silky texture and vibrant taste that’s sure to delight your palate every time.
Ingredients You’ll Need
Gathering these simple yet essential ingredients is the first step toward creating your perfect creamy garlicky aioli. Each one plays a vital role, whether it’s adding smoothness, brightness, or that signature garlicky zing.
- Mayonnaise: Acts as the creamy base that makes the aioli luxuriously smooth and rich.
- Garlic cloves, minced: Provides the bold, fragrant flavor that defines this aioli.
- Lemon juice: Adds a fresh, tangy brightness that balances the richness.
- Dijon mustard: Introduces a subtle depth and slight sharpness to complement the garlic.
- Salt: Enhances all the flavors, making every bite pop.
- Black pepper: Adds a gentle warming spice for complexity.
- Olive oil: Whisked in slowly to create a smooth, velvety finish and a silky texture.
How to Make Creamy Garlicky Aioli Recipe
Step 1: Combine the base ingredients
Start by whisking together the mayonnaise, freshly minced garlic, lemon juice, Dijon mustard, salt, and black pepper in a small bowl. This step sets the foundation of your aioli, blending those vibrant flavors harmoniously.
Step 2: Emulsify with olive oil
While whisking continuously, slowly drizzle in the olive oil. This gradual addition is crucial for achieving that perfectly creamy, smooth texture without separating. The olive oil lends a richness that rounds out the sharpness of the garlic and lemon.
Step 3: Taste and adjust
Give your aioli a taste and make any seasoning adjustments—maybe a pinch more salt or an extra squeeze of lemon. This ensures every batch suits your personal flavor preference.
Step 4: Let the flavors meld
Allow the aioli to rest for at least 10 minutes before serving. This resting time lets the garlic infuse into the creamy base and the flavors marry beautifully for the ultimate garlicky punch.
Step 5: Serve and enjoy
Your creamy garlicky aioli is now ready to be the star accompaniment on your table. Whether used as a dip, spread, or drizzle, it instantly amps up your dishes with its vibrant taste and silky allure.
How to Serve Creamy Garlicky Aioli Recipe

Garnishes
A sprinkle of fresh chopped herbs like parsley or chives makes a lovely garnish that adds a pop of color and freshness to your creamy garlicky aioli. A tiny dusting of smoked paprika can also add a hint of warmth and visual appeal.
Side Dishes
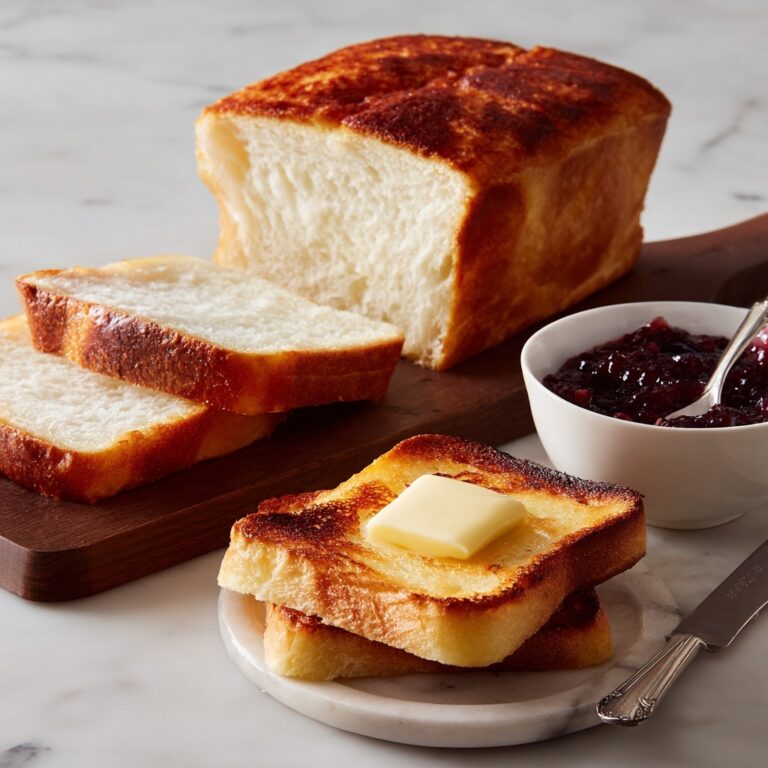
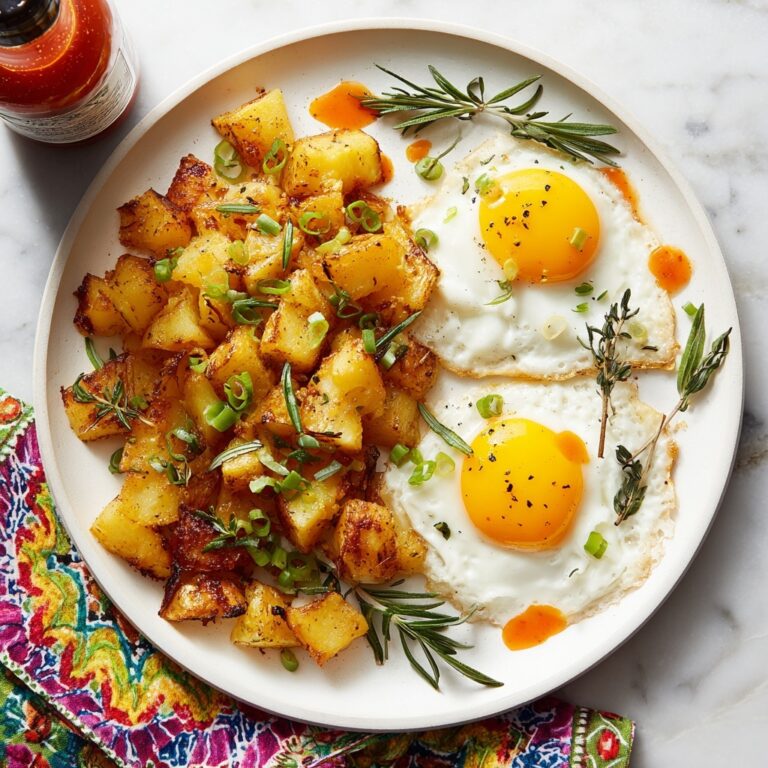
This aioli pairs beautifully with a wide variety of sides. Think crispy roasted potatoes, crunchy vegetable sticks, grilled seafood, or even as a luscious spread on burgers. Its versatility makes it a perfect companion to so many meals.
Creative Ways to Present
Try serving the aioli in a small ramekin alongside a colorful platter of crudités, artisan breads, and olives for an inviting appetizer board. You can also swirl it atop roasted vegetables or drizzle it over grilled chicken for an elegant touch that’s both effortless and delicious.
Make Ahead and Storage
Storing Leftovers
You can store any leftover creamy garlicky aioli in an airtight container in the refrigerator for up to 4 days. Keeping it chilled preserves its fresh flavors and creamy texture, so you can enjoy it again with your next meal.
Freezing
Because of the mayonnaise base in this aioli, freezing is not recommended as it can alter the texture and cause separation once thawed. It’s best enjoyed fresh or refrigerated for short-term use.
Reheating
This aioli is meant to be served cold or at room temperature. Avoid reheating as heat can break the emulsion and change the flavor. Simply bring it out of the fridge a few minutes before serving to soften slightly if needed.
FAQs
Can I use fresh garlic instead of minced garlic in this recipe?
Absolutely! Minced fresh garlic is actually the preferred form to maximize that bold garlicky flavor. Make sure to finely mince or even grate the garlic for the best infusion into the aioli.
Is there a healthier alternative for the mayonnaise?
You can substitute the mayonnaise with Greek yogurt or a lighter mayo if you prefer a healthier twist. Keep in mind this will adjust the texture and tang slightly, but the garlic flavor will still shine.
Can I make this aioli vegan?
Yes! Replace the mayonnaise with a vegan mayo, and you’ll still get that creamy, garlicky goodness without any animal products.
How long should I let the aioli rest before serving?
Giving it at least 10 minutes is ideal to let the flavors meld. If you have time, letting it rest for up to an hour in the fridge can deepen the garlic’s infusion beautifully.
Can I add herbs to customize this aioli?
Definitely. Fresh herbs like dill, basil, or parsley can be whisked in at the end to tailor the flavor to your dish. Just add them right before serving to keep their freshness.
Final Thoughts
This Creamy Garlicky Aioli Recipe has quickly become one of my go-to condiments because it’s effortless to make and elevates just about any dish. I hope you enjoy making it as much as I do—once you taste that perfect garlicky creaminess, you’ll find yourself reaching for it again and again. Go ahead, give it a try and watch your meals transform in the most delicious way.
Print
Creamy Garlicky Aioli Recipe
- Prep Time: 5 minutes
- Cook Time: 0 minutes
- Total Time: 15 minutes
- Yield: 4 servings
- Category: Sauce
- Method: No-Cook
- Cuisine: Mediterranean
- Diet: Low Fat
Description
This creamy, garlicky aioli is a versatile and delicious sauce perfect for dipping, spreading, or drizzling over your favorite dishes. Made with simple ingredients like mayonnaise, fresh garlic, lemon juice, and olive oil, it delivers a rich and smooth texture with a bright, tangy kick of flavor.
Ingredients
Aioli Ingredients
- 1/2 cup mayonnaise
- 2 cloves garlic, minced
- 1 teaspoon lemon juice
- 1/2 teaspoon Dijon mustard
- 1/4 teaspoon salt
- 1/8 teaspoon black pepper
- 1 tablespoon olive oil
Instructions
- Combine ingredients: In a small bowl, whisk together the mayonnaise, minced garlic, lemon juice, Dijon mustard, salt, and black pepper until well combined.
- Incorporate olive oil: Slowly drizzle in the olive oil while whisking continuously to create a smooth and creamy aioli texture.
- Adjust seasoning: Taste the aioli and adjust the seasoning by adding more salt, pepper, or lemon juice if desired.
- Rest the aioli: Let the aioli sit for at least 10 minutes to allow the flavors to meld together for the best taste.
- Serve: Use the aioli as a dip, spread, or drizzle to enhance the flavor of sandwiches, vegetables, or grilled meats.
Notes
- For a stronger garlic flavor, increase the amount of minced garlic.
- This aioli can be stored in an airtight container in the refrigerator for up to one week.
- Use fresh lemon juice for the best bright and tangy flavor.
- For a lighter version, try using low-fat mayonnaise.
- If you prefer a smoother consistency, you can blend the ingredients using a hand mixer or immersion blender instead of whisking by hand.

