
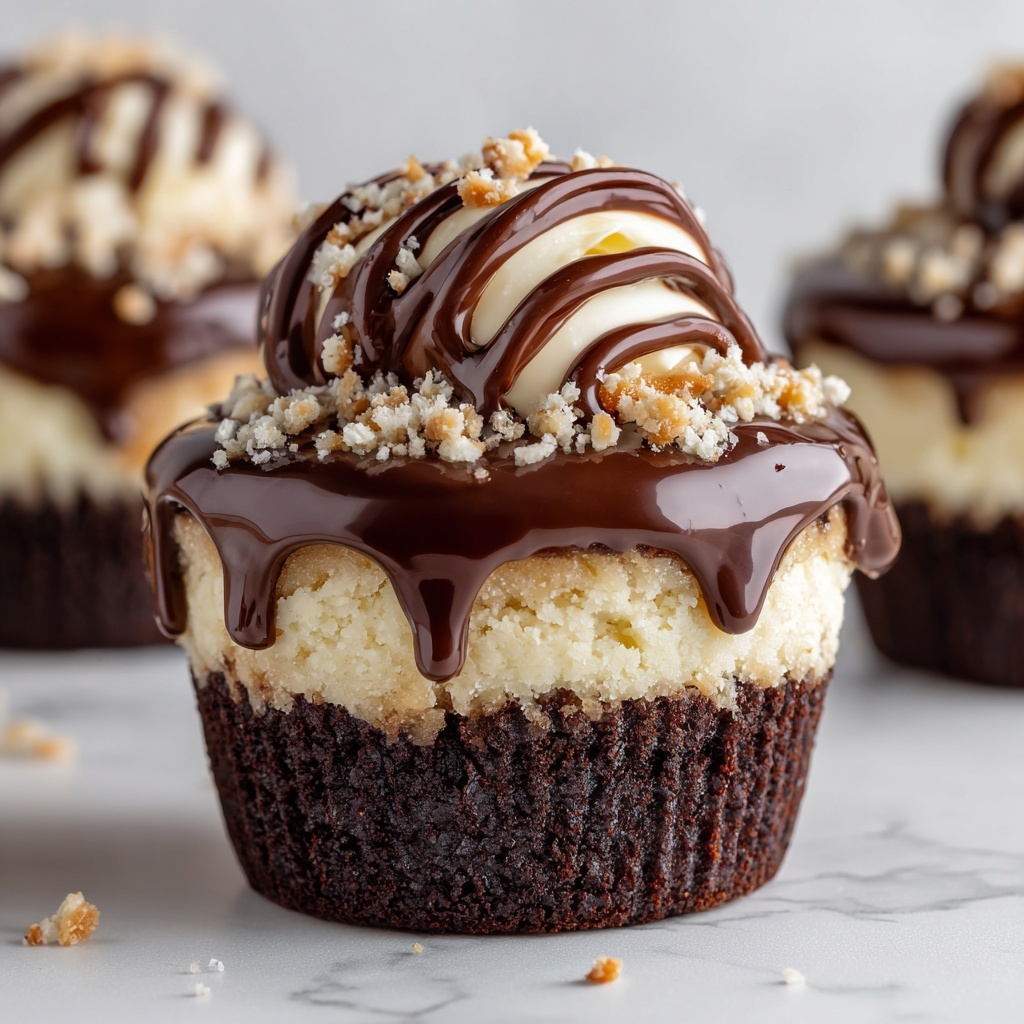
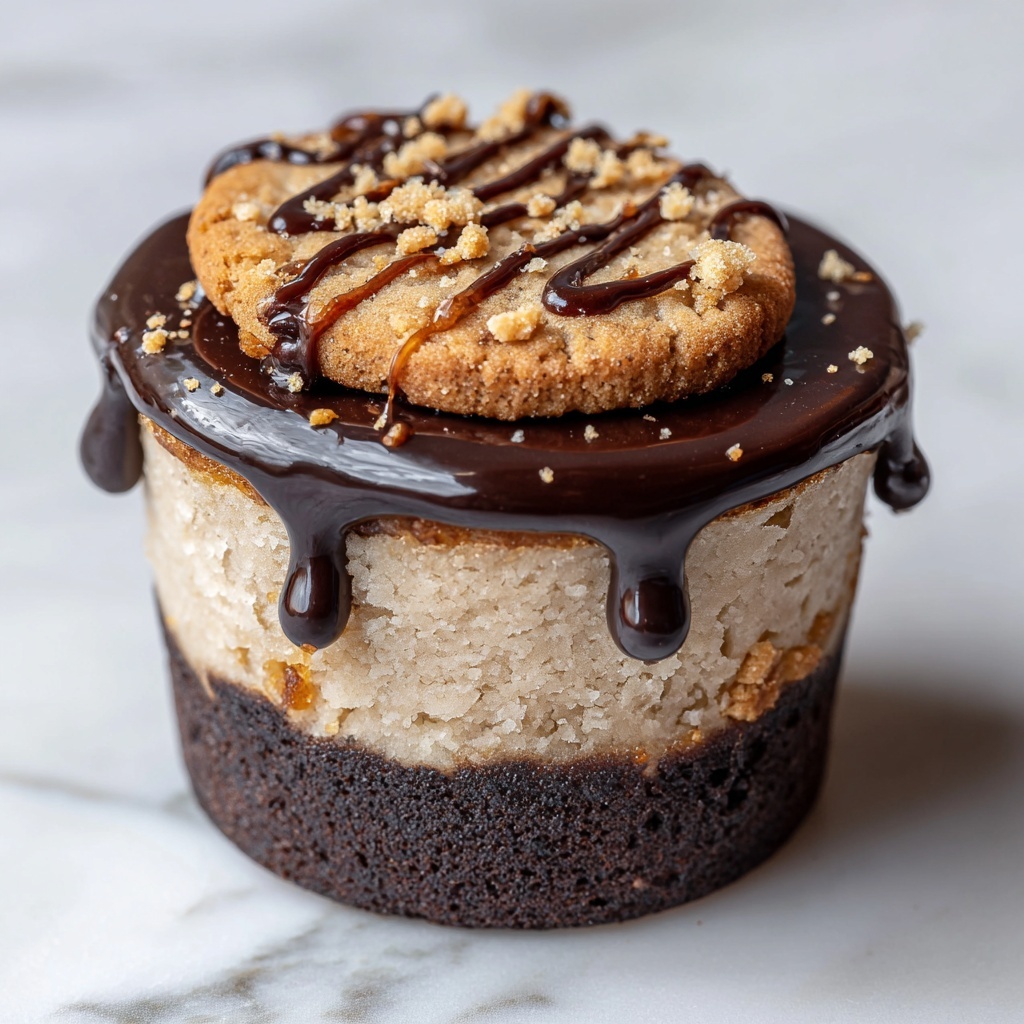
If you’re looking for a delightful treat that’s both buttery and fun to customize, the Shortbread Cookie Cups Recipe is a must-try! These charming little cups blend the rich, crumbly texture of classic shortbread with the joy of filling them with whatever your heart desires, from silky chocolate ganache to fresh fruit or tangy lemon curd. They’re perfect for parties, gifting, or even as a luxurious snack to enjoy any time. Once you make these, I guarantee they’ll become one of your favorite sweet experiments in the kitchen.
Ingredients You’ll Need
This recipe calls for a handful of essential ingredients that are simple yet crucial for the perfect shortbread structure and taste. Each one plays a role in crafting that tender, buttery crumb and perfectly shaped cookie cups that hold their form beautifully under fillings.
- Unsalted butter, 1 cup (2 sticks): The star ingredient providing rich flavor and tender texture, make sure it’s softened for easy mixing.
- Powdered sugar, 1/2 cup: Adds sweetness and helps maintain the tenderness of the dough.
- Granulated sugar, 1/4 cup: Contributes a subtle crunch and balances the sweetness.
- Vanilla extract, 1 tsp: Infuses the dough with warm, familiar flavor that complements any filling.
- All-purpose flour, 2 cups: The base of the dough, providing structure and allowing the cups to hold their shape.
- Salt, 1/4 tsp: Enhances the overall flavor and perfectly balances the sweetness.
How to Make Shortbread Cookie Cups Recipe
Step 1: Preheat and Prepare Your Pan
Start by heating your oven to 350°F (175°C). Lightly grease your mini muffin tin or spray it with a nonstick spray to ensure your cookie cups release easily once baked. A little prep here makes a big difference later!
Step 2: Cream Butter and Sugars
In a large bowl, beat together the softened butter, powdered sugar, and granulated sugar until the mixture is light and fluffy. This step incorporates air which helps create that melt-in-your-mouth texture in the cookie cups.
Step 3: Add the Vanilla Extract
Stir in the vanilla extract until well combined. This adds a lovely aromatic depth that’ll shine through in every bite.
Step 4: Incorporate Dry Ingredients
Gradually add the all-purpose flour and salt, mixing gently just until the dough forms. The dough should be soft but not sticky; if it feels a bit too sticky, a light dusting of flour on your hands can help manage it.
Step 5: Shape the Cups
Scoop out about a tablespoon of dough and press it firmly into each mini muffin cup, pushing it up the sides to form a neat little cup shape. Taking your time here ensures even thickness and sturdier cookie cups after baking.
Step 6: Bake to Perfection
Bake your cookie cups for 12 to 15 minutes, or until the edges turn a delicate golden color. The aroma will start filling your kitchen, hinting at the buttery goodness to come!
Step 7: Reinforce the Cup Shape
Right after baking, while the shortbread is still warm and malleable, gently press down the center of each cup with the back of a spoon or a small tart tamper. This helps maintain the cup’s shape and creates a perfect well for filling.
Step 8: Cool Thoroughly
Let the cookie cups cool in the pan for 10 minutes before transferring them to a wire rack. Cooling completely helps them firm up and makes them easier to handle without breaking.
Step 9: Fill and Enjoy
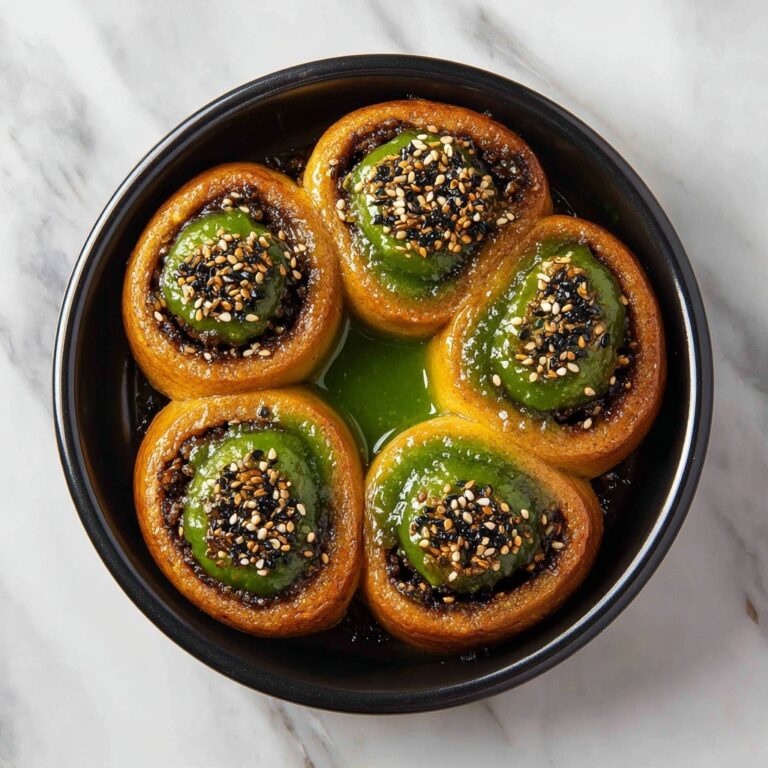
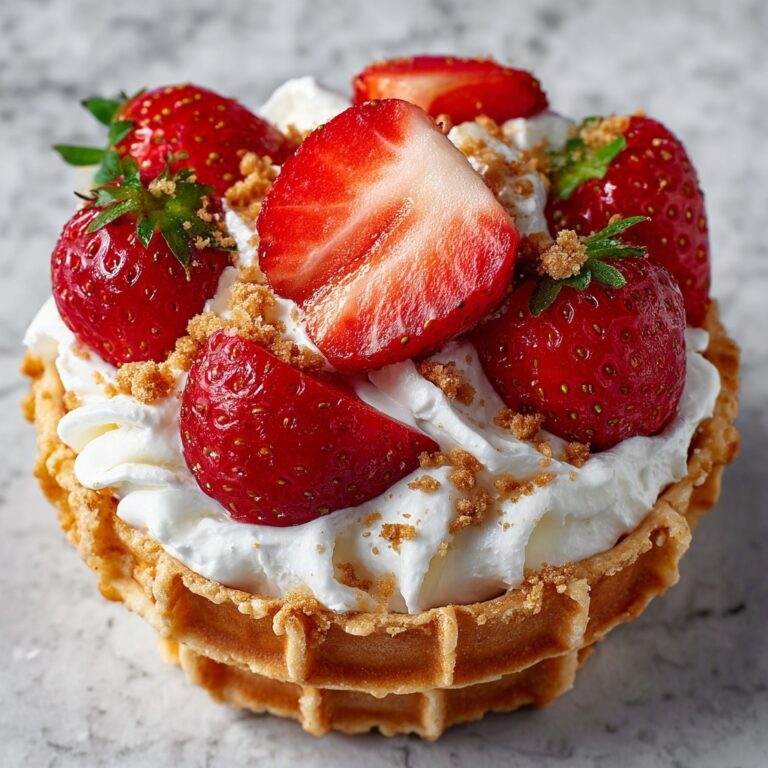
Once your cookie cups have fully cooled, get creative with fillings—think silky chocolate ganache, tangy lemon curd, your favorite jams, Nutella, fluffy cheesecake filling, whipped cream, or fresh berries. This versatility is what makes the Shortbread Cookie Cups Recipe such a crowd-pleaser.
How to Serve Shortbread Cookie Cups Recipe
Garnishes
Adding a little garnish elevates the cookie cups from simple treats to stunning desserts. Consider dusting them with powdered sugar, adding a fresh mint leaf, a sprinkle of toasted nuts, or a few edible flower petals to suit your occasion.
Side Dishes
Pair your shortbread cookie cups with a cup of rich coffee, tea, or a glass of chilled milk to complement the buttery sweetness. For brunch or a party, serve alongside fresh fruit platters or a light sorbet to balance the richness.
Creative Ways to Present
Serve these cookie cups on a pretty platter with assorted fillings for guests to mix and match, or arrange them in mini cupcake liners for a polished look. You can also try stacking filled cookie cups with layers of whipped cream and berries for a whimsical dessert tower.
Make Ahead and Storage
Storing Leftovers
If you end up with leftovers, store cooled cookie cups in an airtight container at room temperature for up to 3 days. Keep fillings separate until ready to serve to maintain the crisp texture of the shortbread.
Freezing
These cookie cups freeze beautifully. Place the cooled and unfilled cups in a single layer on a baking sheet, freeze solid, then transfer to a freezer-safe container. They’ll keep for up to 2 months. Thaw completely at room temperature before filling.
Reheating
If you want to enjoy the cookie cups a little warm, pop them in a preheated 300°F oven for about 3-5 minutes. This refreshes their buttery aroma without softening the crisp edges too much.
FAQs
Can I use salted butter instead of unsalted?
Yes, you can use salted butter, but omit the added salt in the recipe or reduce it to balance the flavor. Unsalted butter lets you control the saltiness better, but salted works in a pinch.
How do I prevent the cookie cups from cracking?
Make sure not to overwork the dough and press it evenly into the pan. Also, shaping them while warm after baking helps maintain smooth edges and prevents cracks.
Can these cookie cups be made gluten-free?
Absolutely! Substitute the all-purpose flour with a gluten-free flour blend that measures cup-for-cup, and check bindings to ensure the dough holds together well.
What fillings work best with shortbread cookie cups?
Anything from creamy ganache, lemon curd, or creamy cheesecake filling to jam, Nutella, or fresh fruit works wonderfully. The buttery cups complement both sweet and slightly tangy fillings.
How long do these cookie cups last once filled?
Once filled, it’s best to consume them within 24 hours, especially if you’re using perishable fillings like whipped cream or cheesecake. Otherwise, keep filled cups refrigerated but expect the shortbread to soften over time.
Final Thoughts
I can’t recommend this Shortbread Cookie Cups Recipe enough if you crave a simple, buttery base that opens the door to an endless array of dessert possibilities. Once your oven timer dings and you press down those warm cookie cups, you’ll be hooked on how easy it is to make a beautiful, customizable sweet treat that looks like it took hours to make. Give it a go and watch these little delights disappear fast at your next gathering or cozy night in!
Print
Shortbread Cookie Cups Recipe
- Prep Time: 10 minutes
- Cook Time: 15 minutes
- Total Time: 25 minutes
- Yield: 24 mini cookie cups
- Category: Dessert
- Method: Baking
- Cuisine: American
Description
These Shortbread Cookie Cups are buttery, tender, and perfectly shaped mini cups made from classic shortbread dough. Easy to prepare and bake, they are delightful on their own or filled with your favorite sweet toppings like chocolate ganache, lemon curd, or fresh fruit for an elegant dessert or party treat.
Ingredients
Shortbread Cookie Cups Ingredients
- 1 cup (2 sticks) unsalted butter, softened
- 1/2 cup powdered sugar
- 1/4 cup granulated sugar
- 1 tsp vanilla extract
- 2 cups all-purpose flour
- 1/4 tsp salt
Instructions
- Preheat oven: Preheat your oven to 350°F (175°C) and lightly grease a mini muffin tin or spray it with nonstick cooking spray.
- Cream butter and sugars: In a large mixing bowl, beat the softened unsalted butter together with powdered sugar and granulated sugar until the mixture becomes light and fluffy, ensuring a smooth texture.
- Add vanilla extract: Stir in the vanilla extract to infuse the dough with a rich, sweet aroma.
- Mix dry ingredients: Gradually incorporate the all-purpose flour and salt into the wet mixture, stirring until a dough forms. The dough should be soft but not sticky to the touch.
- Form the cookie cups: Scoop about 1 tablespoon of dough into each cup of the mini muffin tin. Press the dough evenly into the bottom and up the sides to create a cup shape capable of holding fillings.
- Bake: Place the muffin tin in the oven and bake for 12 to 15 minutes until the edges of the cookie cups turn light golden brown.
- Shape while warm: Immediately after removing from the oven, gently press down the center of each cup with the back of a spoon or a small tart tamper to reinforce the cup shape and create a well for fillings.
- Cool: Allow the cookie cups to cool for 10 minutes in the tin before transferring them carefully to a wire rack to cool completely.
- Fill and serve: Once fully cooled, fill the cookie cups with your favorite fillings such as chocolate ganache, lemon curd, jam, Nutella, cheesecake filling, whipped cream, or fresh fruit. Serve and enjoy!
Notes
- Ensure butter is softened but not melted for best dough consistency.
- If dough is too sticky, chill it briefly before forming cups.
- Use a mini tart tamper or back of a spoon to shape cups immediately after baking; this is key to maintaining the cup shape.
- Cookie cups can be stored in an airtight container for up to 3 days.
- Fill cookie cups just before serving to avoid sogginess.
- Experiment with different fillings for variety and occasions.

